> ## Documentation Index
> Fetch the complete documentation index at: https://io.net/docs/llms.txt
> Use this file to discover all available pages before exploring further.
# Managing your Wallets
> All suppliers must add at least three to their IO ID account to remain eligible.
You can associate up to **10 Solana wallets** with your account. One wallet will be designated as the **Primary Wallet**, and will serve as the default for all transactions, **except Block Rewards Distribution.**
Ensure that your account meets this requirement to continue participating in the reward program.
For detailed steps on adding and managing wallets, refer to the instructions below:
## Adding a Wallet for Crypto Payments
If you plan on using crypto, you must add a wallet to your account. **Credit card users do not need to complete this step.**
### Connecting a Solana Wallet
To learn how to create your own Solana wallet, check out this [short guide](/guides/workers/solana). When you create your account, you are encouraged to add a wallet. You can skip this step and add your wallet later, in the **Settings** tab of **IO ID**.
Follow the steps below to add a wallet to your account:
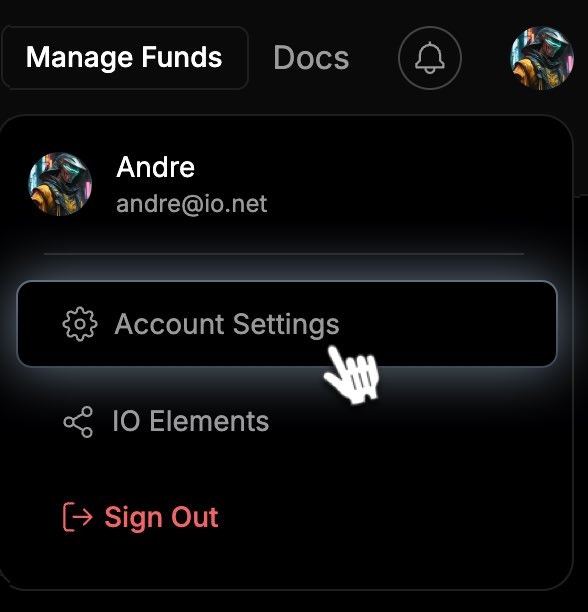
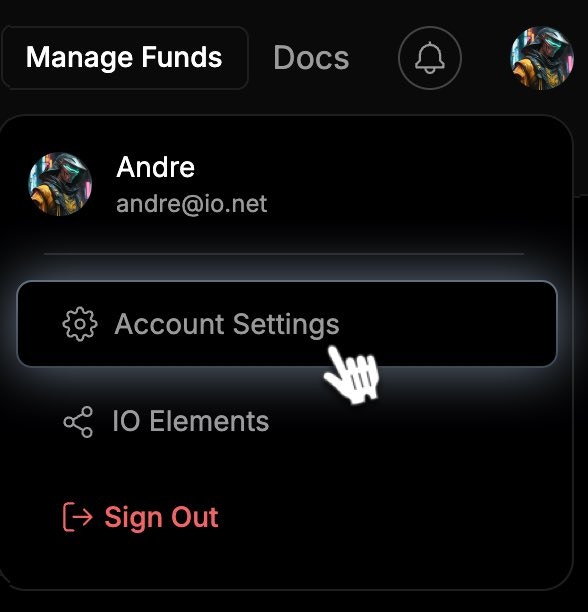
1. Click on your icon in the upper right and select **Account Settings**.
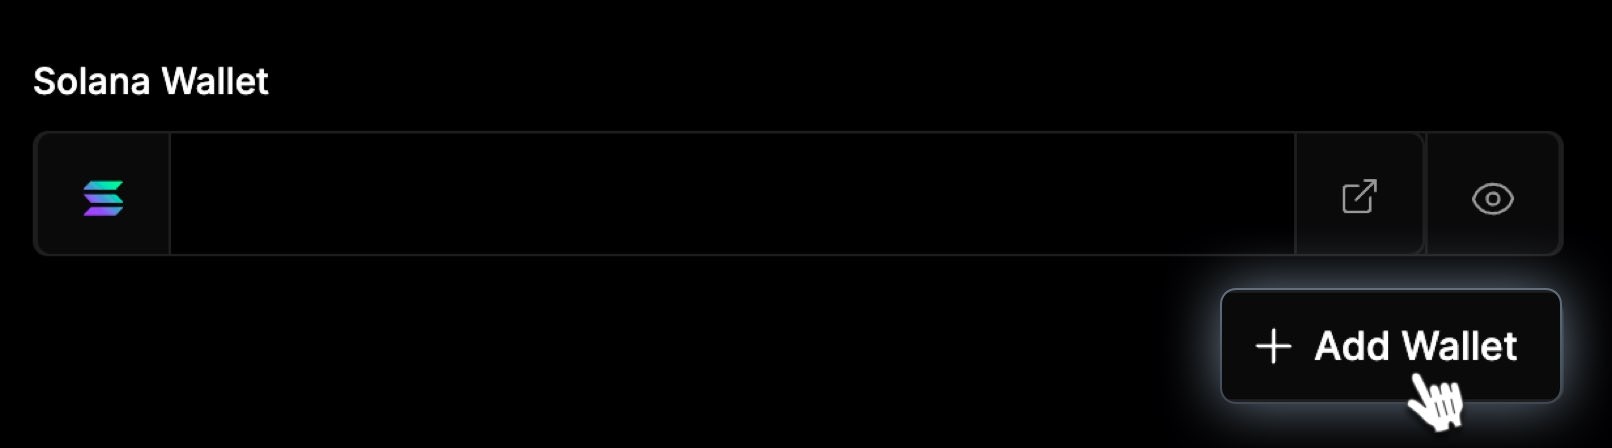
 2. In Account Settings, find the **Solana Wallet Address** block and click the **Add Wallet** button.
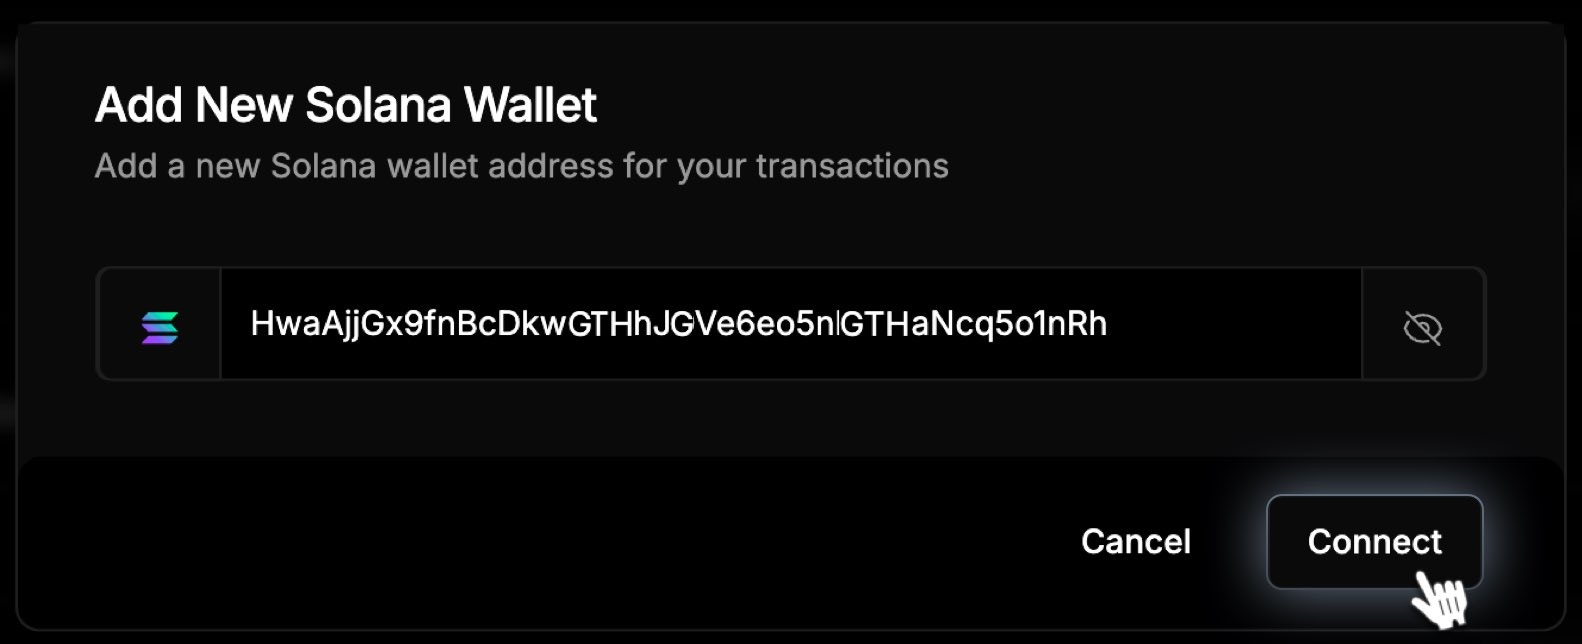
 3. In the appearing popup, enter your new **Solana wallet address**
4. Click **Connect** to add the new address.
3. In the appearing popup, enter your new **Solana wallet address**
4. Click **Connect** to add the new address.
 5. As a result, your wallet will be successfully connected to the IO ecosystem.
### Connect a Single Aptos Wallet
To learn how to create your own Aptos wallet, check out this [short guide](/guides/workers/aptos-wallet). When you create your account, you are promoted to add a wallet. You can also skip the step and add your wallet in **Account Settings**.
1. Click on your icon in the upper right and select **Account Settings**.
5. As a result, your wallet will be successfully connected to the IO ecosystem.
### Connect a Single Aptos Wallet
To learn how to create your own Aptos wallet, check out this [short guide](/guides/workers/aptos-wallet). When you create your account, you are promoted to add a wallet. You can also skip the step and add your wallet in **Account Settings**.
1. Click on your icon in the upper right and select **Account Settings**.
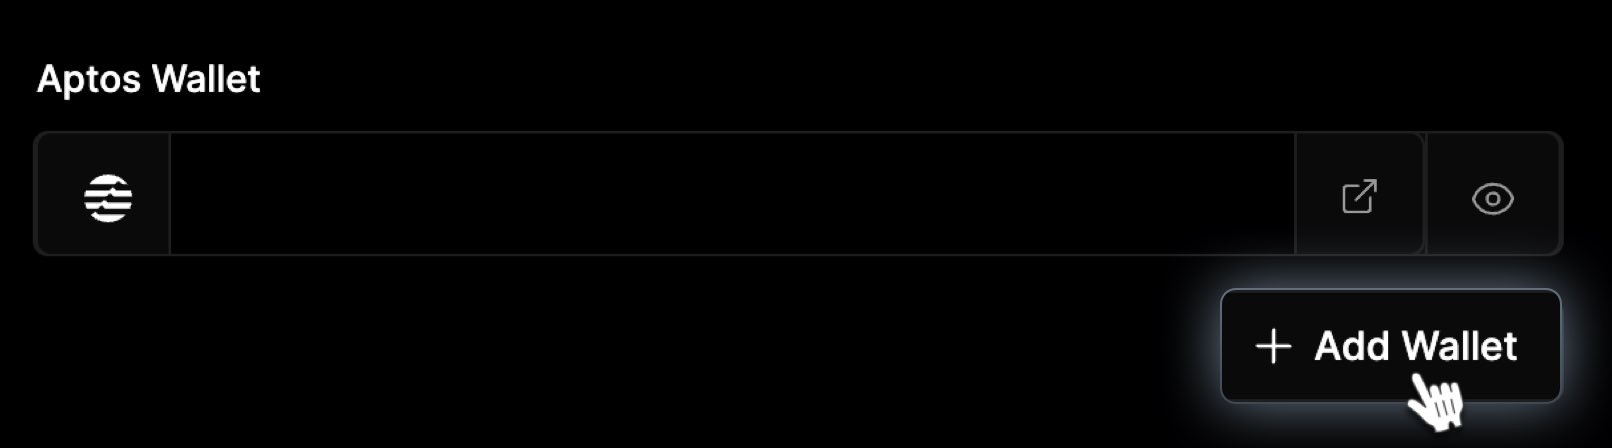
 2. In the **Aptos Wallet** section, click **Add Wallet.**
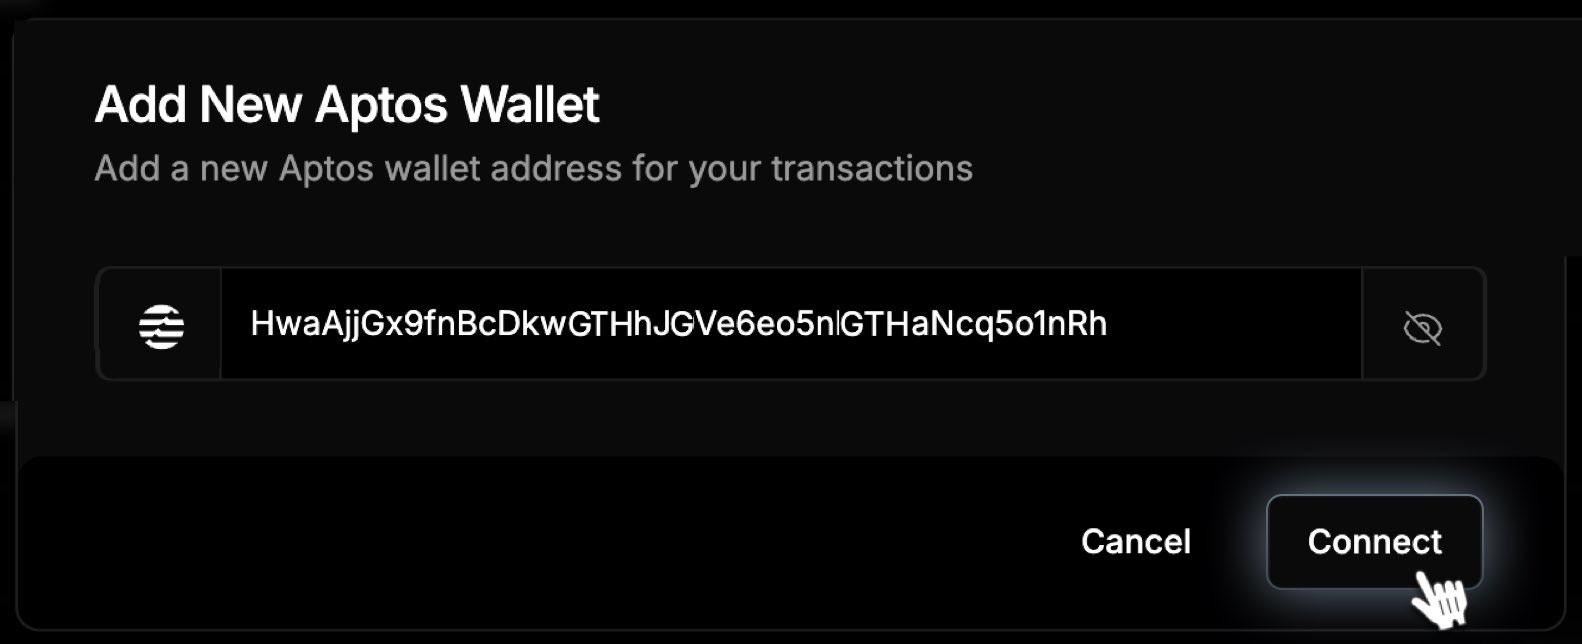
 3. Enter your wallet address in the **Connect New Aptos Wallet** field and click **Connect**.
 ## Adding Multiple Wallets
The **multi-wallet feature** allows you to add up to **10 Solana wallets** to your io.net account, providing flexibility in managing **rewards, payments, and assets.**
This is particularly useful if one of your wallets becomes **inaccessible, lost, or compromised**, ensuring your ability to receive your rewards. Additionally, you can distribute rewards across different wallets for better **organization and security.**
You can add up to 10 wallets to your account by following these steps:
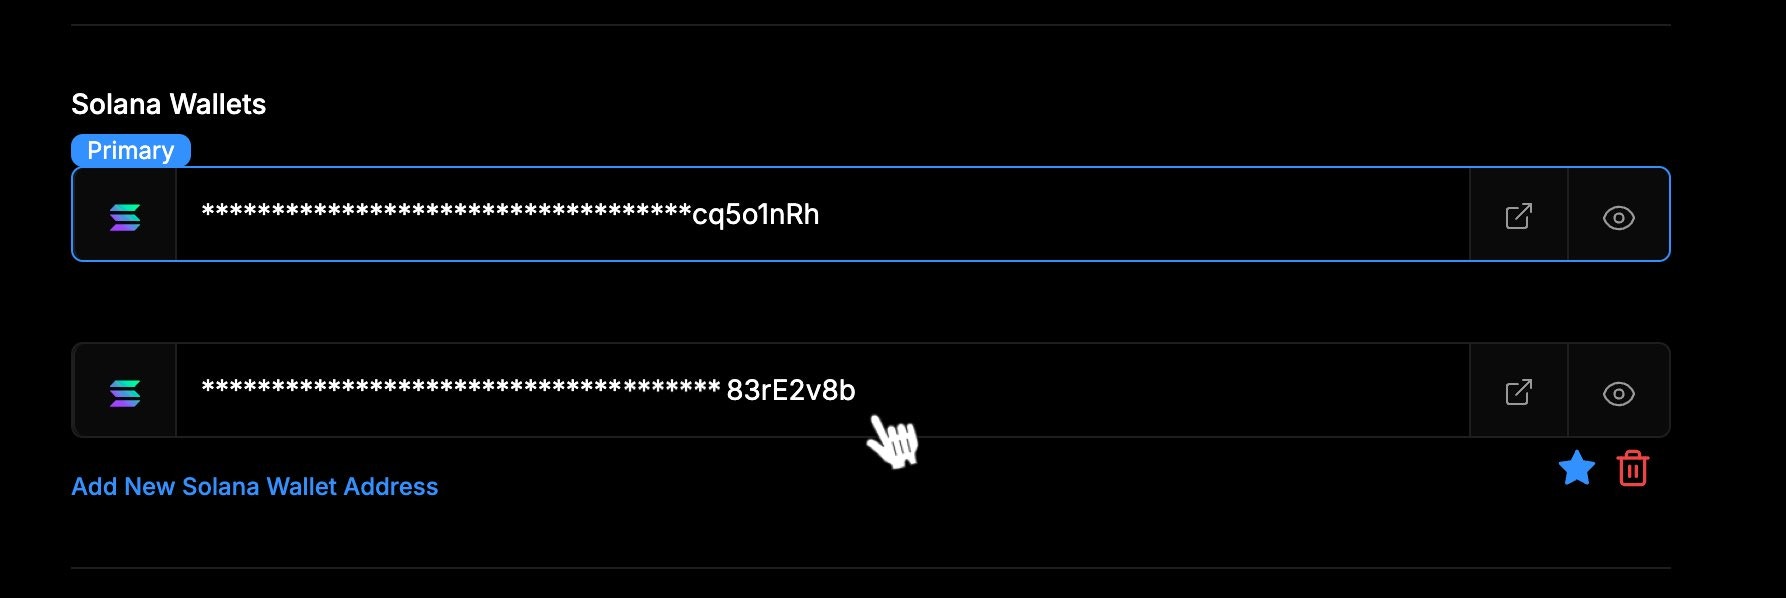
1. Underneath your first wallet address, find and click the \*\*Add New Solana Wallet Address \*\*link.
## Adding Multiple Wallets
The **multi-wallet feature** allows you to add up to **10 Solana wallets** to your io.net account, providing flexibility in managing **rewards, payments, and assets.**
This is particularly useful if one of your wallets becomes **inaccessible, lost, or compromised**, ensuring your ability to receive your rewards. Additionally, you can distribute rewards across different wallets for better **organization and security.**
You can add up to 10 wallets to your account by following these steps:
1. Underneath your first wallet address, find and click the \*\*Add New Solana Wallet Address \*\*link.
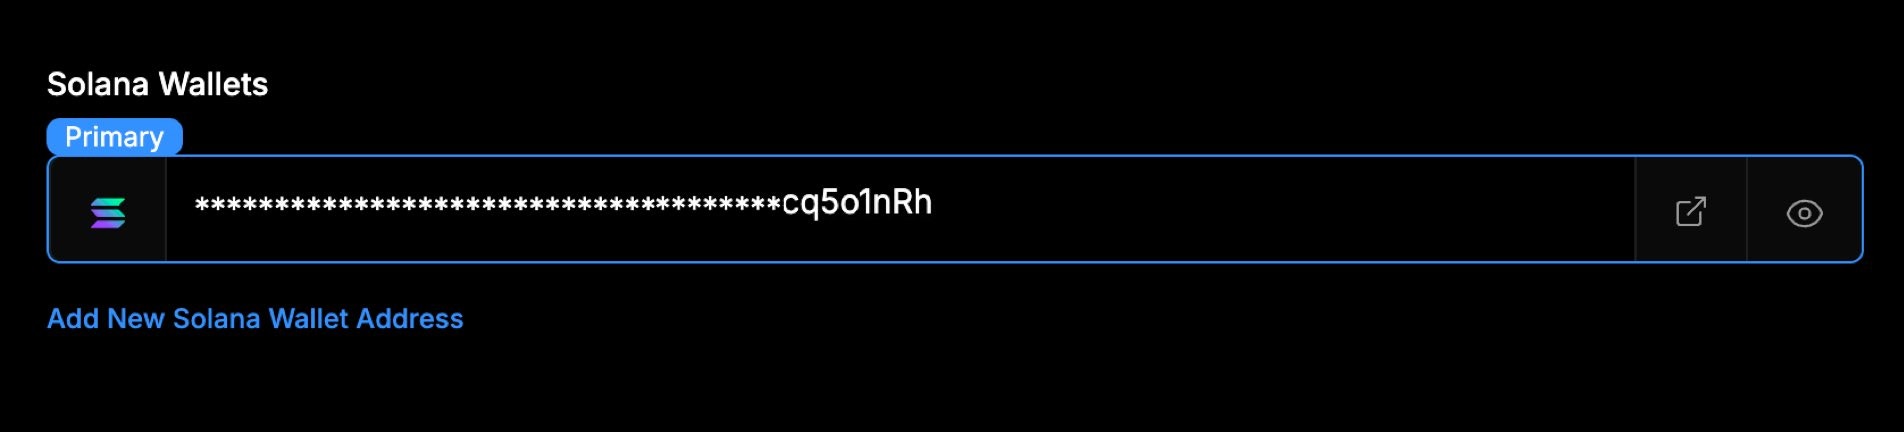 2. In the popup, enter your other **Solana wallet address**.
3. Click **Connect** to add the new additional address.
2. In the popup, enter your other **Solana wallet address**.
3. Click **Connect** to add the new additional address.
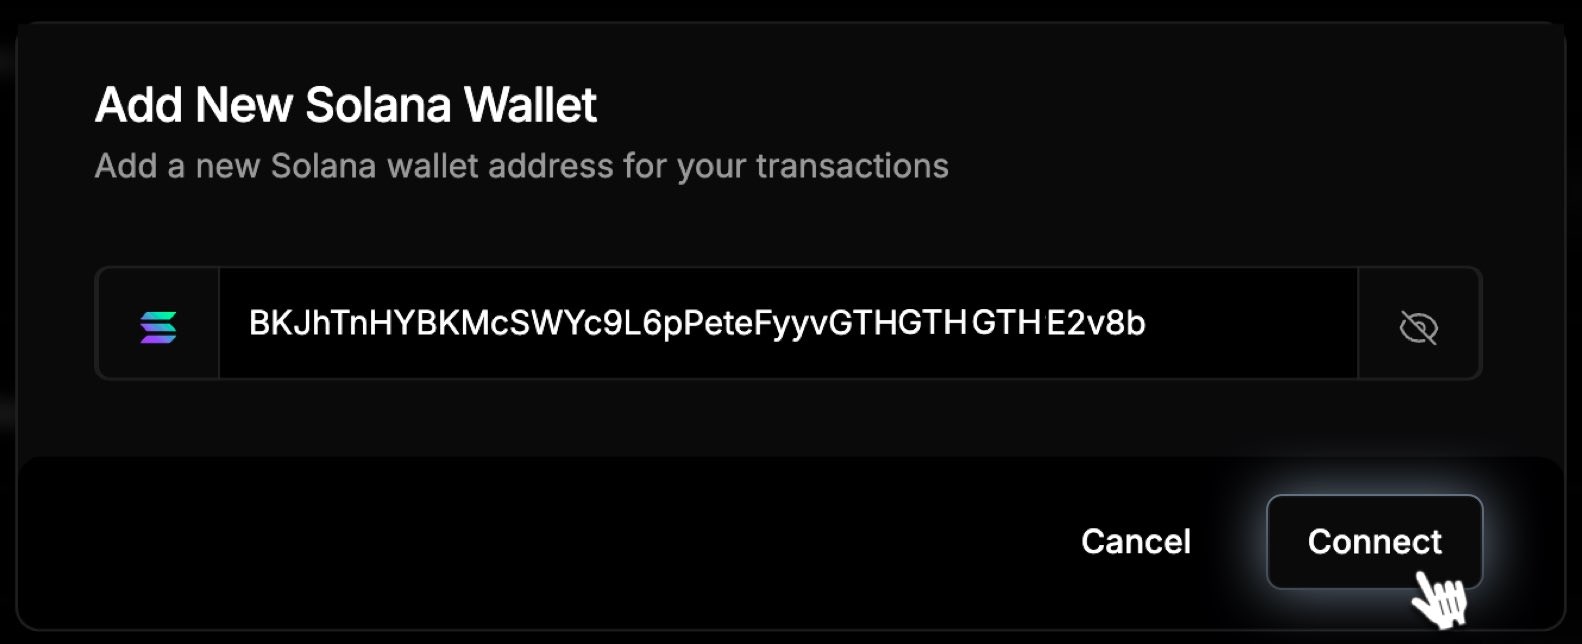 4. Your new wallet will be successfully added to the IO ecosystem.
 ## Setting your Primary Wallet
By default, your first wallet becomes the primary wallet. However, if you add more than one wallet, you can set another wallet as your primary. The primary wallet will be used for **Block Rewards** and payment transactions.
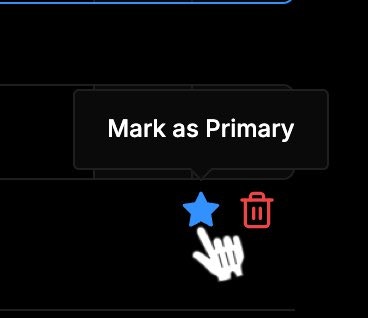
To change your primary wallet, hover your mouse over the desired wallet address and click on the blue star beneath the field. The selected wallet will then become your primary wallet.
## Setting your Primary Wallet
By default, your first wallet becomes the primary wallet. However, if you add more than one wallet, you can set another wallet as your primary. The primary wallet will be used for **Block Rewards** and payment transactions.
To change your primary wallet, hover your mouse over the desired wallet address and click on the blue star beneath the field. The selected wallet will then become your primary wallet.
 ## Removing a Wallet
You can remove any of your wallet addresses at any time by following these steps:
1. Hover over the wallet address you want to remove.
2. A red**Trash** icon will appear. Click on it to remove the selected wallet.
## Removing a Wallet
You can remove any of your wallet addresses at any time by following these steps:
1. Hover over the wallet address you want to remove.
2. A red**Trash** icon will appear. Click on it to remove the selected wallet.
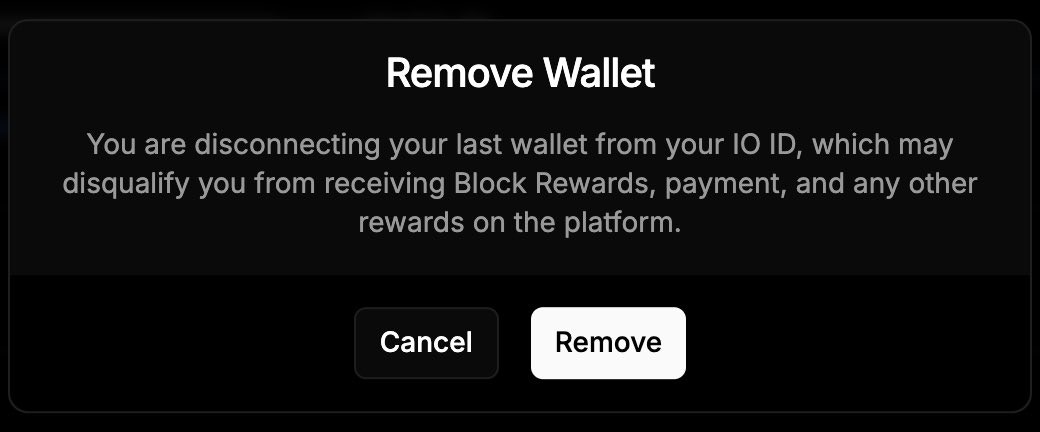
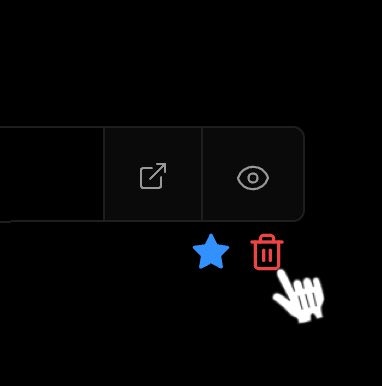 3. A pop-up will then appear to double-check your action to ensure you want to remove the wallet.
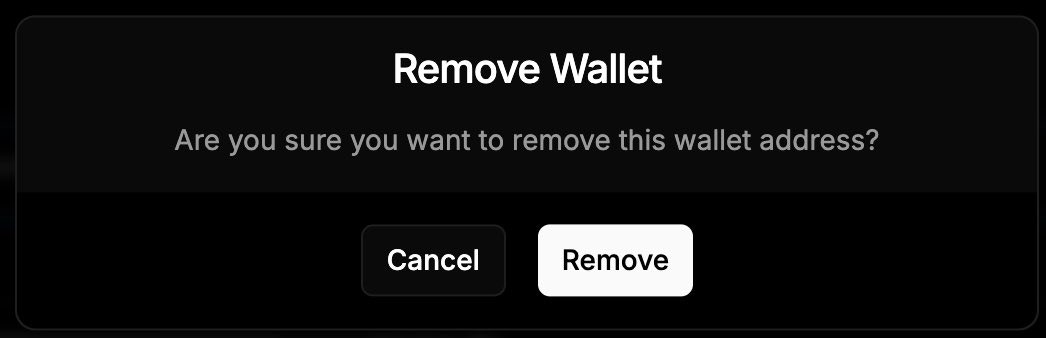 If you remove your wallet from the IO ecosystem, you will no longer receive block rewards, payments, or any other rewards associated with that wallet. Make sure you remove wallets only when necessary.