> ## Documentation Index
> Fetch the complete documentation index at: https://io.net/docs/llms.txt
> Use this file to discover all available pages before exploring further.
# Agentic Workflow Editor
> Build, connect, and execute powerful AI workflows using a visual, no-code interface. From simple task chains to full-blown multi-agent orchestration - without writing a single line of code.
## What is Agentic Workflow?
**Agentic Workflow Editor** is a visual builder that lets you create and manage AI workflows composed of models, agents, tools, and task logic — like a modular intelligence engine.
Instead of scripting interactions between various models or APIs, you can drag components onto a canvas, configure them, connect them visually, and run the flow to see the outcome — all from your browser.
### Who is this for?
* **AI Engineers & Researchers** – Quickly prototype multi-agent systems
* **Data Scientists & Analysts** – Automate complex logic chains without coding
* **Product / Ops Teams** – Connect AI models to business logic visually
* **Consultants & Agencies** – Package workflows as reusable templates
## Getting Started
To begin using the Agentic Workflow Editor :
1. **Go to your io.net Dashboard.**
2. Navigate to the [**Agentic Workflow Editor**](https://id.io.net/ai/agentic-workflow-editor) under **IO Intelligence** section.
 3. Create a new workflow and start interacting with AI models.
### Interface Overview
| Section | Description |
| ----------------- | ------------------------------------------------------- |
| **Left Sidebar** | Workflows list: folders, create new flow, rename/delete |
| **Center Editor** | Visual flow builder: drag & drop components |
| **Right Sidebar** | Settings for selected components |
| **Bottom Panel** | Flow Outcome result: logs and execution steps |
## Import your flow before starting:
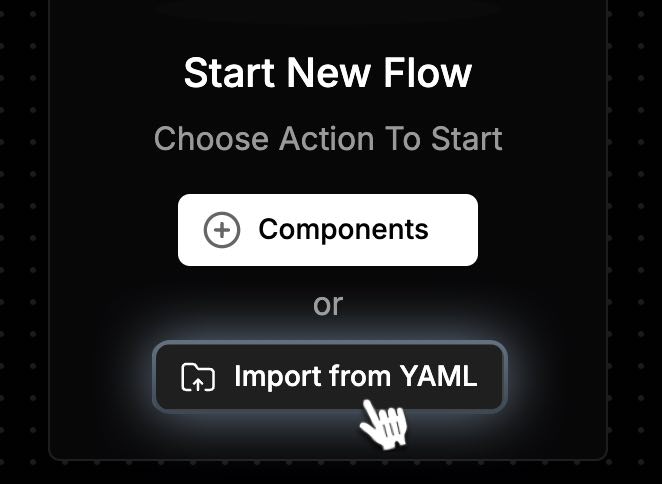
* Click **Import From YAML** button when you just created new flow in the center of the flow editor
3. Create a new workflow and start interacting with AI models.
### Interface Overview
| Section | Description |
| ----------------- | ------------------------------------------------------- |
| **Left Sidebar** | Workflows list: folders, create new flow, rename/delete |
| **Center Editor** | Visual flow builder: drag & drop components |
| **Right Sidebar** | Settings for selected components |
| **Bottom Panel** | Flow Outcome result: logs and execution steps |
## Import your flow before starting:
* Click **Import From YAML** button when you just created new flow in the center of the flow editor
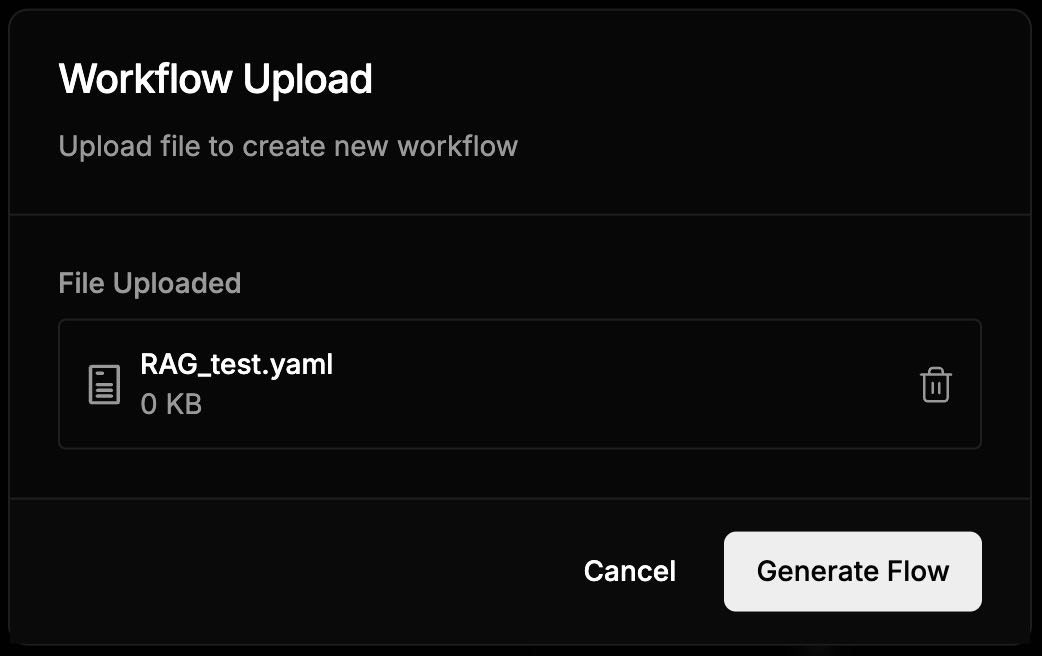
 * Upload `.yaml` file (max 1MB)
* Click **Generate Flow**
* Upload `.yaml` file (max 1MB)
* Click **Generate Flow**
 ## How the flow working
To design an effective agentic workflow, we recommend the following order:
### 1. Create an Agent
Start by adding an Agent component to represent your core logic and behavior. In the right sidebar, configure: `Agent Name`, `Instructions` (what it should do), `Swarm Name `(for group coordination if applicable)
## How the flow working
To design an effective agentic workflow, we recommend the following order:
### 1. Create an Agent
Start by adding an Agent component to represent your core logic and behavior. In the right sidebar, configure: `Agent Name`, `Instructions` (what it should do), `Swarm Name `(for group coordination if applicable)
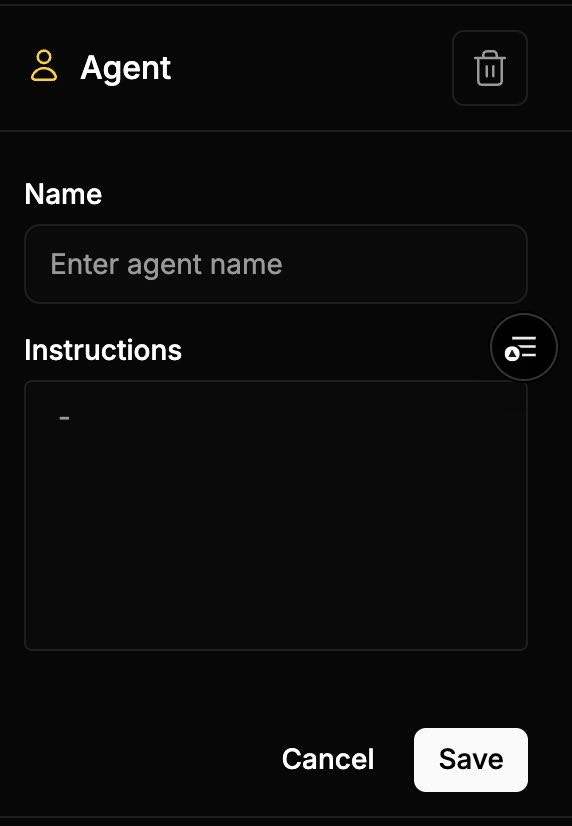 First, insert an Agent component. Then connect it to a Model, followed by Tasks or Tools.
### 2. Pick an AI Model
Attach an AI Model to the Agent by clicking into the component and choosing from the available models in the right sidebar. This defines the core reasoning engine your agent will use.
1. Click **Add Component** → Select **AI Model**
2. Select the Component block → use right sidebar to:
* Search and select an AI model
* Click **Save**
First, insert an Agent component. Then connect it to a Model, followed by Tasks or Tools.
### 2. Pick an AI Model
Attach an AI Model to the Agent by clicking into the component and choosing from the available models in the right sidebar. This defines the core reasoning engine your agent will use.
1. Click **Add Component** → Select **AI Model**
2. Select the Component block → use right sidebar to:
* Search and select an AI model
* Click **Save**
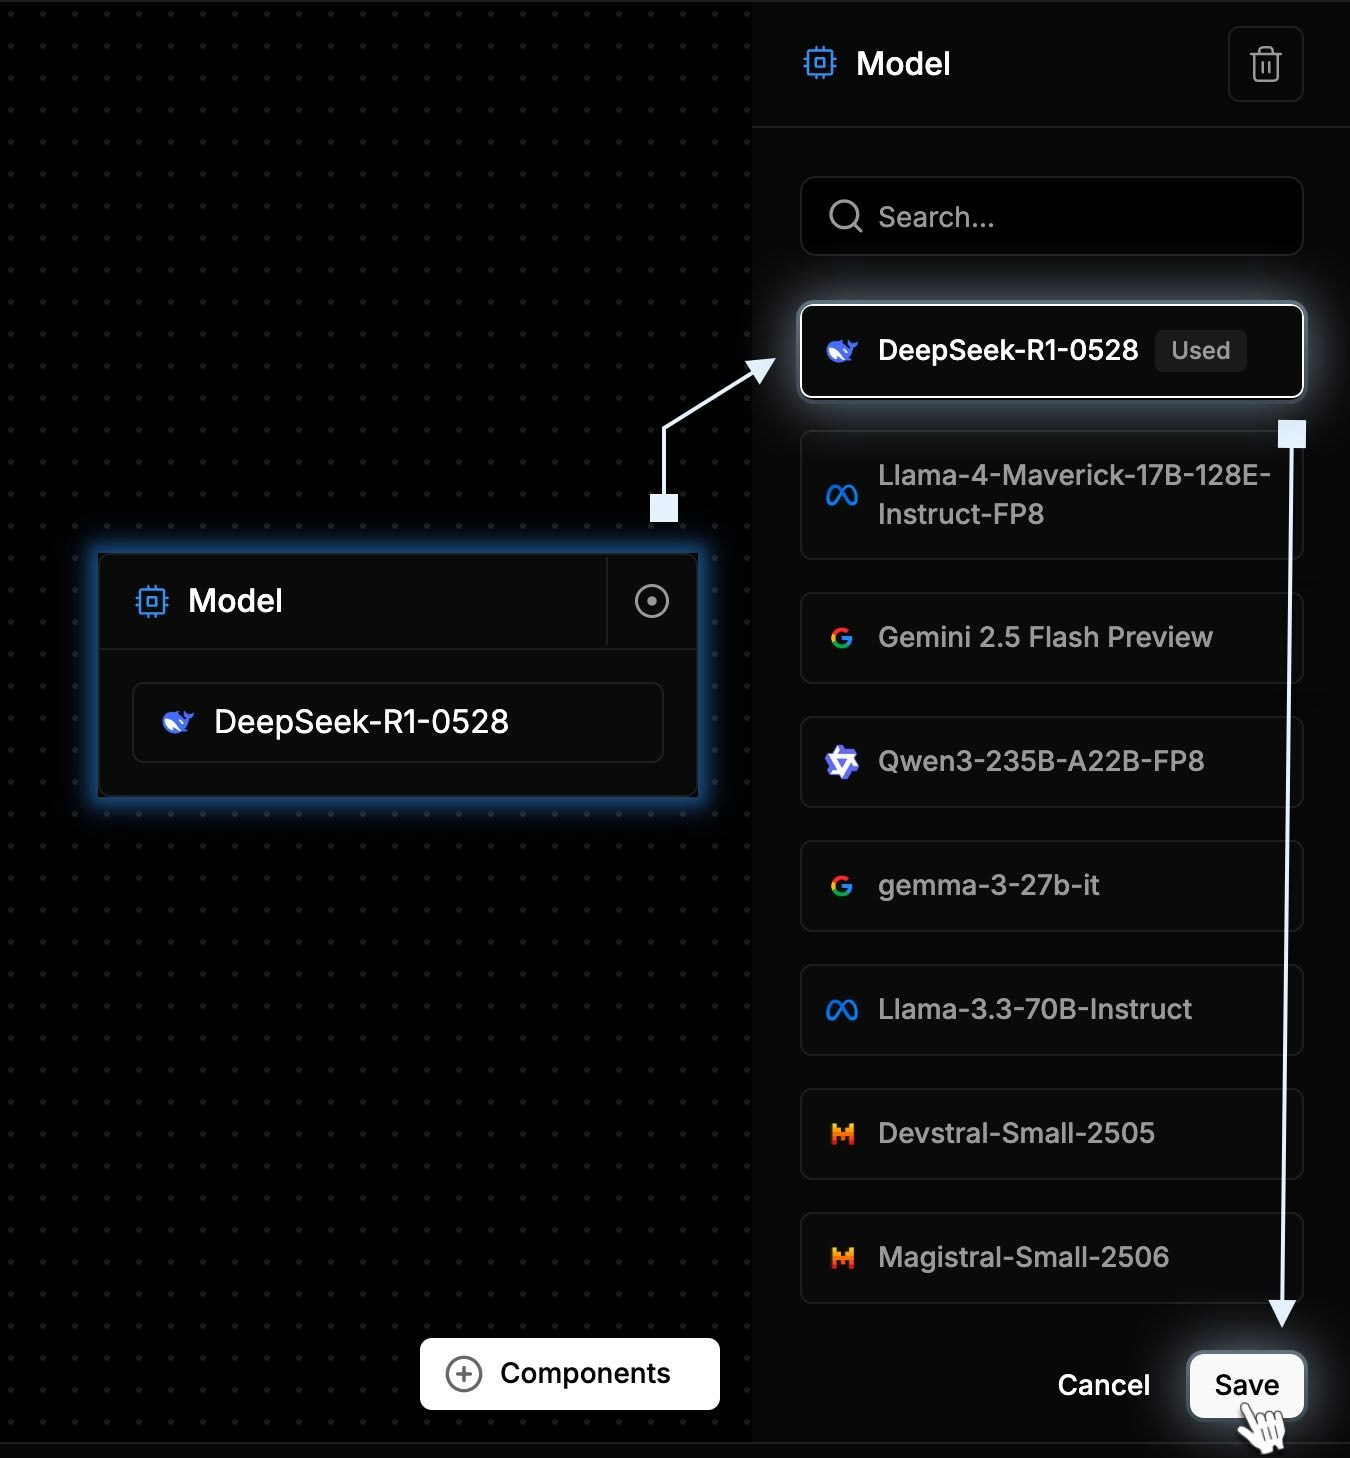 3. The block updates with the model name
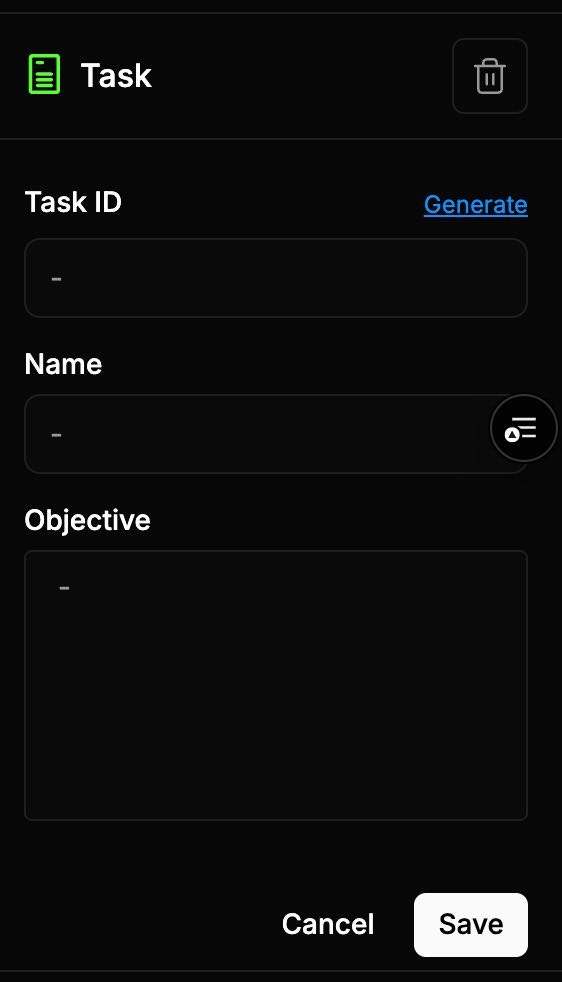
### 3. Define Tasks
Add Task components for specific steps your Agent will perform. Configure each task with: `Task ID`, `Name`, `Text`, `Client Mode (on/off)`
3. The block updates with the model name
### 3. Define Tasks
Add Task components for specific steps your Agent will perform. Configure each task with: `Task ID`, `Name`, `Text`, `Client Mode (on/off)`
 ### 4. Connect Tools
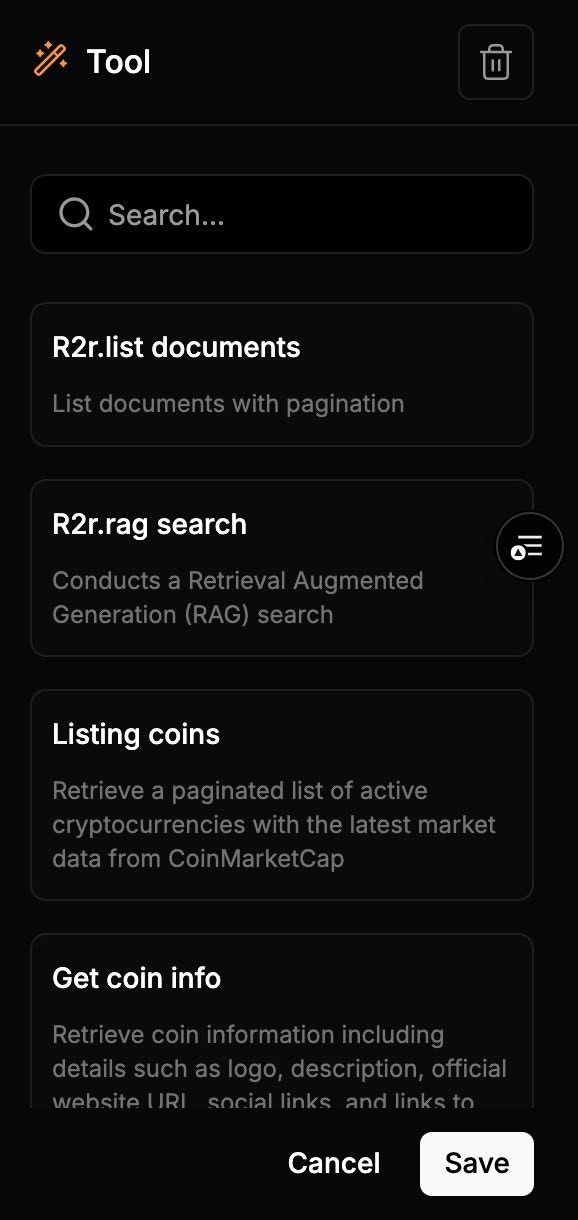
Use Tool components to integrate external capabilities — such as cryptocurrency data or web search. Tools allow **Agents** or **Tasks** to interact with these systems.
To use a Tool:
* Add the **Tool** component to your flow.
* Select one from the built-in list — no manual configuration is required.
| Tool Name | Description |
| ---------------------------- | ----------------------------------------------------------------------- |
| `listing coins` | Retrieves a paginated list of active cryptocurrencies. |
| `get coin info` | Returns coin metadata like logo, description, links, and documentation. |
| `get coin quotes` | Provides real-time price quotes for cryptocurrencies. |
| `get coin quotes historical` | Returns historical price quotes. |
| `search the web` | Performs a web search. Requires `text` input. |
| `search the web async` | Performs a web search asynchronously. Requires `text` input. |
Note: When connecting components, remember — arrow always points from Agent or Task → Tool. Tools never initiate.
### 4. Connect Tools
Use Tool components to integrate external capabilities — such as cryptocurrency data or web search. Tools allow **Agents** or **Tasks** to interact with these systems.
To use a Tool:
* Add the **Tool** component to your flow.
* Select one from the built-in list — no manual configuration is required.
| Tool Name | Description |
| ---------------------------- | ----------------------------------------------------------------------- |
| `listing coins` | Retrieves a paginated list of active cryptocurrencies. |
| `get coin info` | Returns coin metadata like logo, description, links, and documentation. |
| `get coin quotes` | Provides real-time price quotes for cryptocurrencies. |
| `get coin quotes historical` | Returns historical price quotes. |
| `search the web` | Performs a web search. Requires `text` input. |
| `search the web async` | Performs a web search asynchronously. Requires `text` input. |
Note: When connecting components, remember — arrow always points from Agent or Task → Tool. Tools never initiate.
 ### 5. Add Stages (Optional)
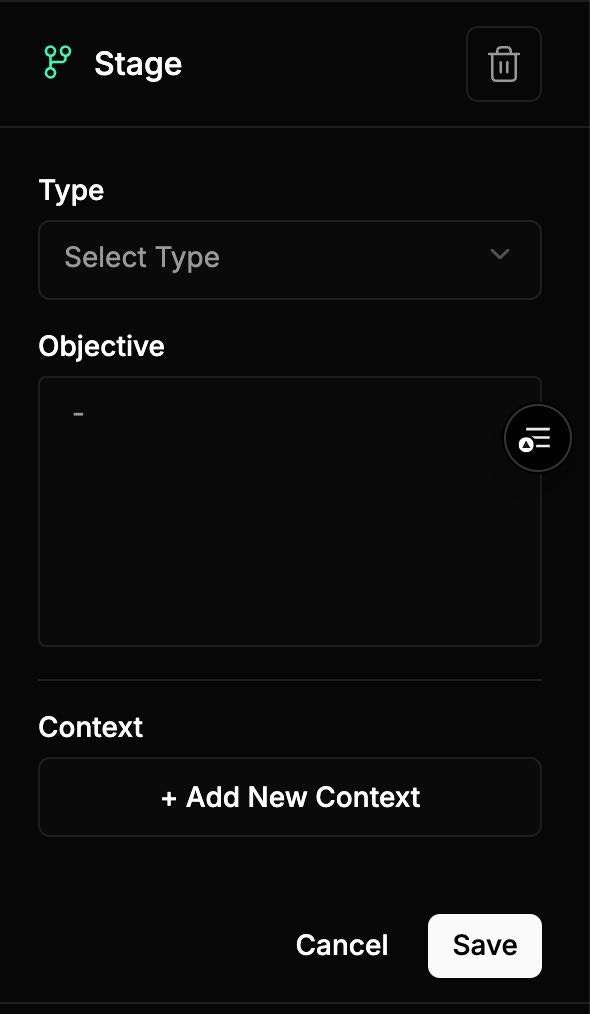
Add Stage components to organize your workflow into sequential or parallel stages, each with defined objectives and context. Configure each Stage with: `Type`, `Objective`, `Result Type`, `Context`
### 5. Add Stages (Optional)
Add Stage components to organize your workflow into sequential or parallel stages, each with defined objectives and context. Configure each Stage with: `Type`, `Objective`, `Result Type`, `Context`
 ### 6. Connect Everything
In the Agentic Workflow Editor, components are connected to define how data and logic flow between them.
* **Agents** and **Tasks** are active components — they **initiate** actions.
* **Tools** and **Models** are passive — they are **called** by Agents or Tasks.
#### Valid Connection Examples:
* Agent → Tool
* Agent → Model
* Task → Tool
#### Invalid:
* Tool → Agent
* Tool → Task
Tools don’t initiate logic — they return results when triggered by another component.
**To create a connection:** Drag from the top-right circle of one block to another. This sets execution order and data flow
### 6. Connect Everything
In the Agentic Workflow Editor, components are connected to define how data and logic flow between them.
* **Agents** and **Tasks** are active components — they **initiate** actions.
* **Tools** and **Models** are passive — they are **called** by Agents or Tasks.
#### Valid Connection Examples:
* Agent → Tool
* Agent → Model
* Task → Tool
#### Invalid:
* Tool → Agent
* Tool → Task
Tools don’t initiate logic — they return results when triggered by another component.
**To create a connection:** Drag from the top-right circle of one block to another. This sets execution order and data flow
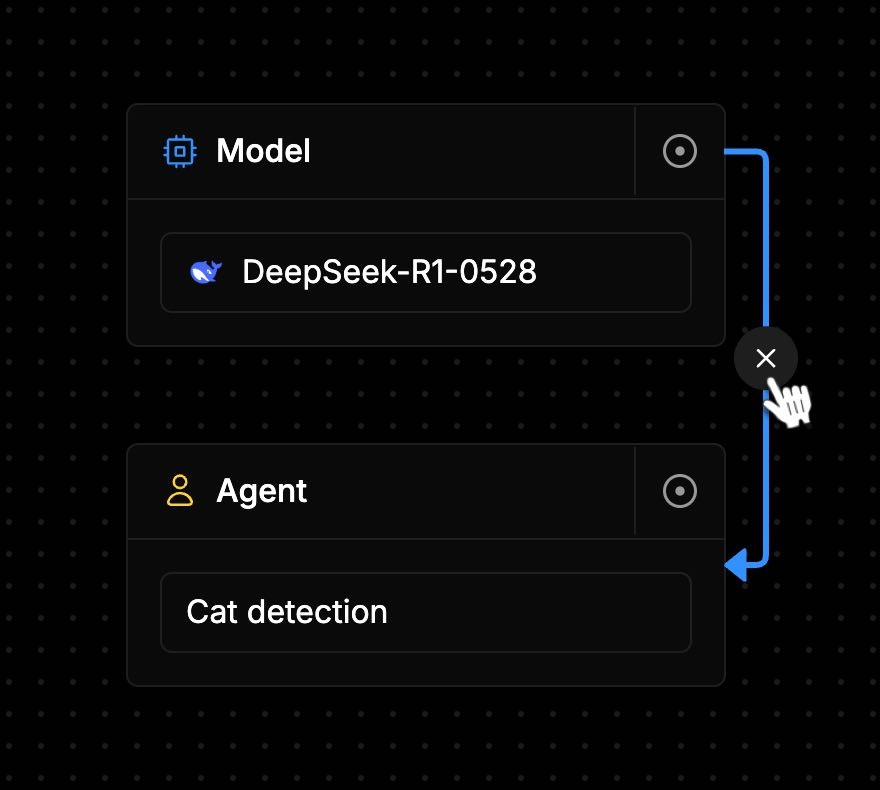
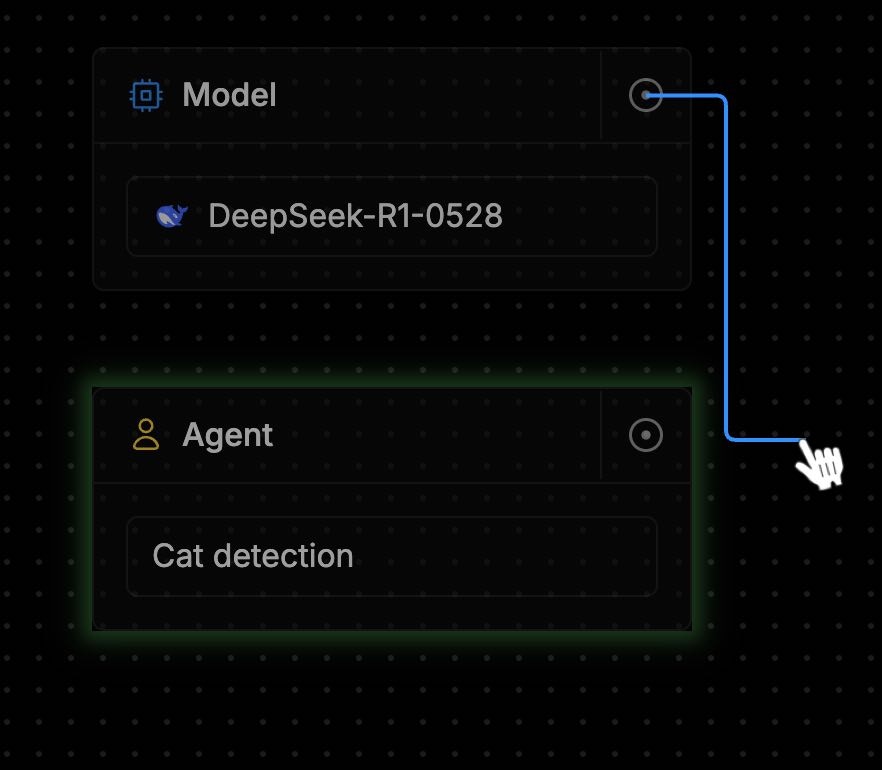 **To remove a connection**: Hover over the connecting line, then click the cross icon to remove it.
 ### 7. Run and Review
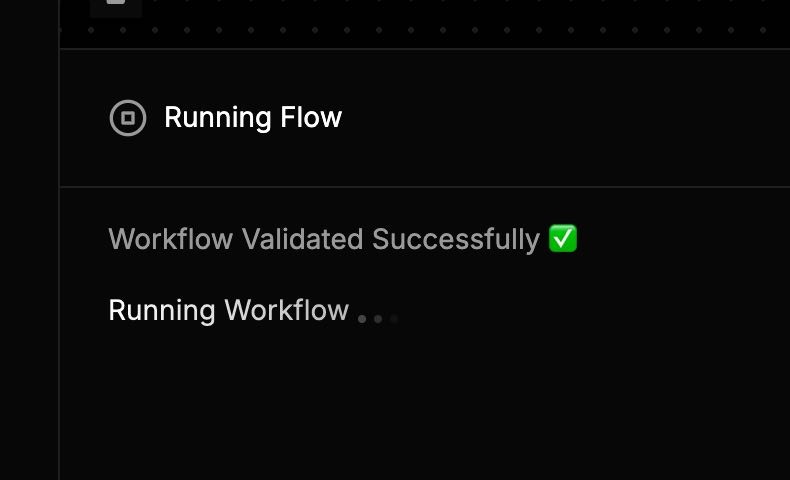
Hit Run to execute your flow and see step-by-step output in the Flow Outcome panel.
* **Successful** real-time execution steps in **Flow Outcome**
### 7. Run and Review
Hit Run to execute your flow and see step-by-step output in the Flow Outcome panel.
* **Successful** real-time execution steps in **Flow Outcome**
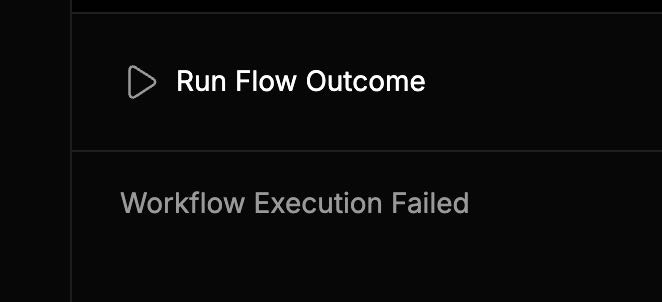
 * **Errors** (e.g., logic issues or invalid config) will be displayed clearly
 ### 8. Reposition or Delete
* Drag components freely to organize your flow
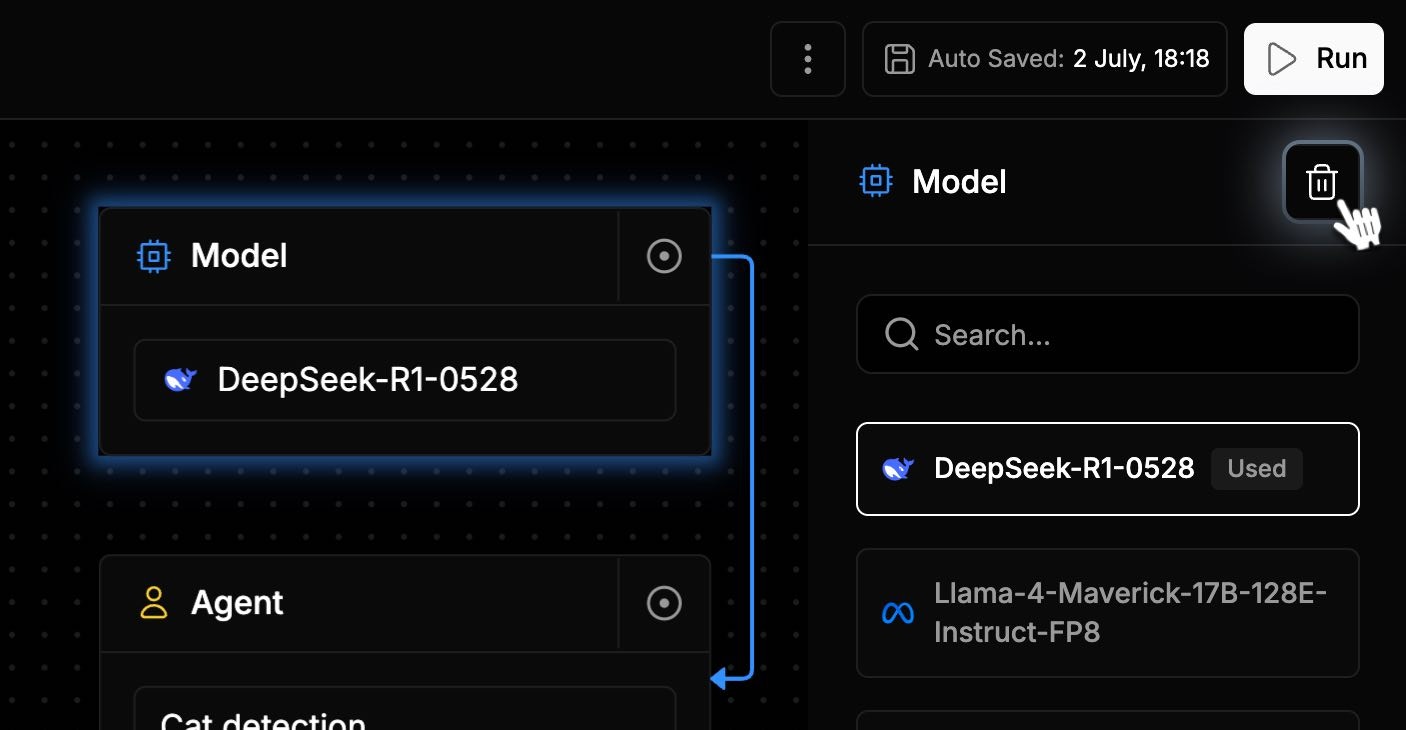
* **To delete a component:** Select the block in the editor, then click the **trash icon** in the right sidebar
### 8. Reposition or Delete
* Drag components freely to organize your flow
* **To delete a component:** Select the block in the editor, then click the **trash icon** in the right sidebar
 ## Saving, Exporting
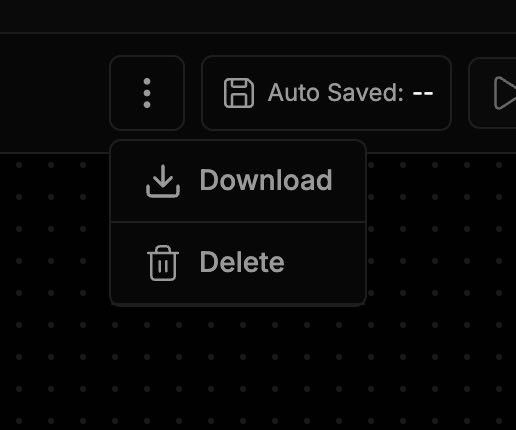
* Your work is **autosaved**, no need to click Save (see timestamp near Run).
* Click **⋮** three dots (top-right) to :
* **Download as .yaml** your Flow
* **Delete flow** from your account
## Saving, Exporting
* Your work is **autosaved**, no need to click Save (see timestamp near Run).
* Click **⋮** three dots (top-right) to :
* **Download as .yaml** your Flow
* **Delete flow** from your account
 ## Left Sidebar: Workflows
The left sidebar helps you organize and manage your workflows efficiently. Here's how it works:
* **Search Bar** Quickly find any existing workflow by typing its name.
* **Add New Flow** Use the “+ Flow” button to start a new workflow inside the selected folder.
* **Flow List** Displays all your existing workflows, grouped by folders. Each flow entry shows the number of components inside it, e.g. (2).
* **Flow Actions** (Hover Options) When you hover over a flow in the list, additional options appear:
* **Edit** – Open the flow in the editor.
* **Rename** – Update the flow name.
* **Delete** – Permanently remove the flow (confirmation required).
## Left Sidebar: Workflows
The left sidebar helps you organize and manage your workflows efficiently. Here's how it works:
* **Search Bar** Quickly find any existing workflow by typing its name.
* **Add New Flow** Use the “+ Flow” button to start a new workflow inside the selected folder.
* **Flow List** Displays all your existing workflows, grouped by folders. Each flow entry shows the number of components inside it, e.g. (2).
* **Flow Actions** (Hover Options) When you hover over a flow in the list, additional options appear:
* **Edit** – Open the flow in the editor.
* **Rename** – Update the flow name.
* **Delete** – Permanently remove the flow (confirmation required).
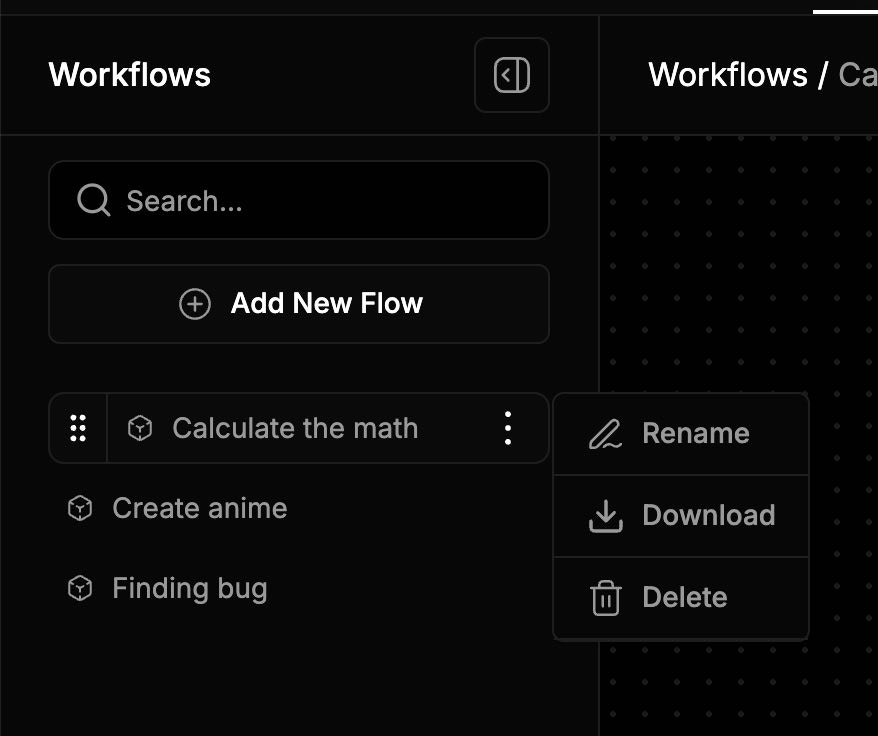 You can also collapse the left sidebar to maximize the workspace. Click the collapse arrow icon to hide or show the sidebar.
## Canvas Tools
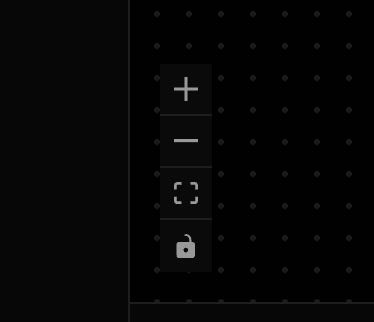
* Zoom In / Out using **+ / -** buttons
* Use **Lock icon** to freeze layout
* Use **Fit to View** to focus on working area
* Collapse **Left / Bottom Panels** for full-screen editing
You can also collapse the left sidebar to maximize the workspace. Click the collapse arrow icon to hide or show the sidebar.
## Canvas Tools
* Zoom In / Out using **+ / -** buttons
* Use **Lock icon** to freeze layout
* Use **Fit to View** to focus on working area
* Collapse **Left / Bottom Panels** for full-screen editing
 ## What Happens Under the Hood?
Each flow is executed as an agentic graph:
* Components are orchestrated via context-passing protocol
* Execution supports branching, parallelism, and tool chaining
* Flow outcome shows step-by-step logs, results, and failures
Note: execution is managed by IO’s internal orchestration engine, ensuring retry logic, state management, and observability.
## Tips
* Start with an Agent → Connect an AI Model → Add Tasks and Tools
* Keep blocks modular and reusable
* Use Flow Outcome to debug before scaling
* YAML export lets you version-control or share flows
## Shortcuts & Extras
| Action | How |
| --------------- | ---------------------------------------------------------- |
| Upload Flow | Click **Import From YAML**, select `.yaml`, click Generate |
| Delete Flow | Click `⋮`, choose **Delete Flow** (confirmation popup) |
| Export Flow | Click `⋮`, choose **Download YAML** |
| Collapse Panels | Click arrows on **Left** or **Bottom** bars |
| Fit View | Use **Zoom to Fit** icon |
## What Happens Under the Hood?
Each flow is executed as an agentic graph:
* Components are orchestrated via context-passing protocol
* Execution supports branching, parallelism, and tool chaining
* Flow outcome shows step-by-step logs, results, and failures
Note: execution is managed by IO’s internal orchestration engine, ensuring retry logic, state management, and observability.
## Tips
* Start with an Agent → Connect an AI Model → Add Tasks and Tools
* Keep blocks modular and reusable
* Use Flow Outcome to debug before scaling
* YAML export lets you version-control or share flows
## Shortcuts & Extras
| Action | How |
| --------------- | ---------------------------------------------------------- |
| Upload Flow | Click **Import From YAML**, select `.yaml`, click Generate |
| Delete Flow | Click `⋮`, choose **Delete Flow** (confirmation popup) |
| Export Flow | Click `⋮`, choose **Download YAML** |
| Collapse Panels | Click arrows on **Left** or **Bottom** bars |
| Fit View | Use **Zoom to Fit** icon |