> ## Documentation Index
> Fetch the complete documentation index at: https://io.net/docs/llms.txt
> Use this file to discover all available pages before exploring further.
# HiveOS: Install Worker
> A step-by-step process for running io.net on HiveOS:
### What is HiveOS?
HiveOS is an operating system designed specifically for mining cryptocurrencies. It is optimized for mining efficiency, stability, and ease of use, offering features such as remote monitoring, management of mining rigs, and support for a variety of mining hardware. HiveOS is popular among cryptocurrency miners for its user-friendly interface, robust performance, and support for a wide range of mining algorithms and coins..
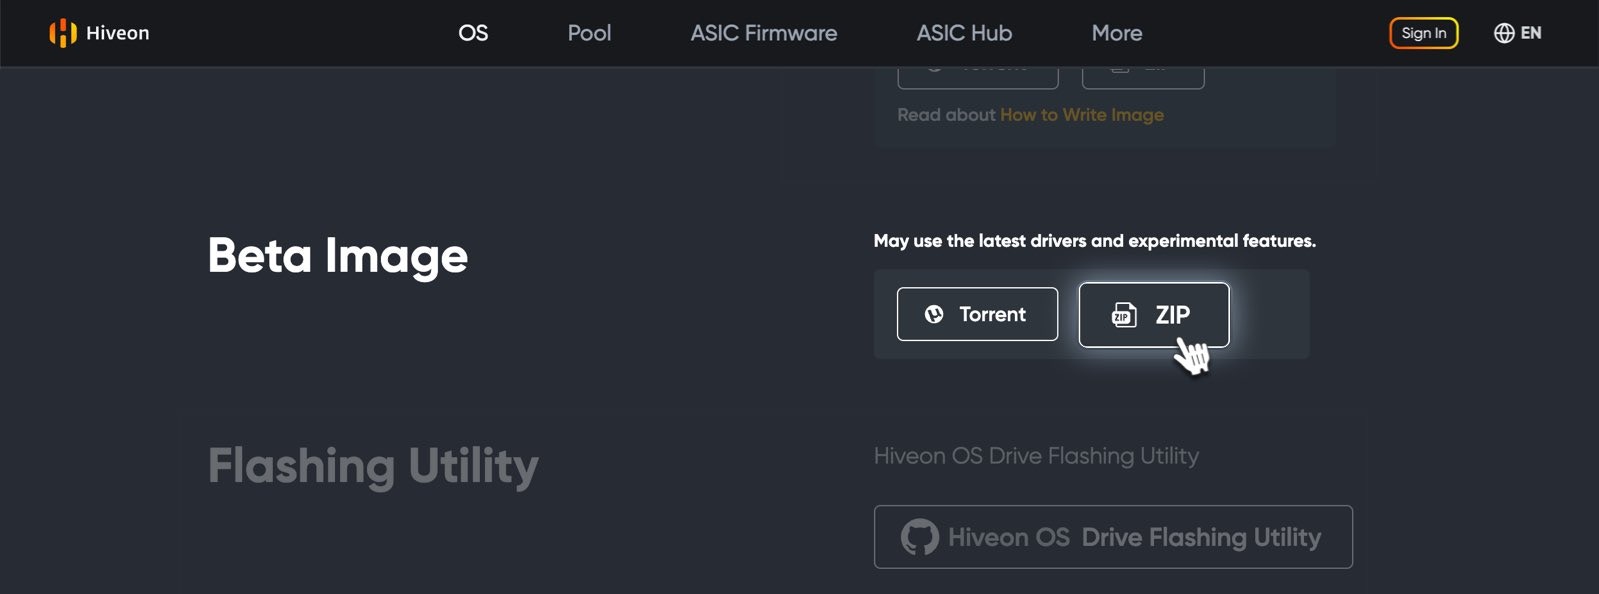
### 1. [Download the HiveOS](https://hiveon.com/install/) Version from the Hiveon Website
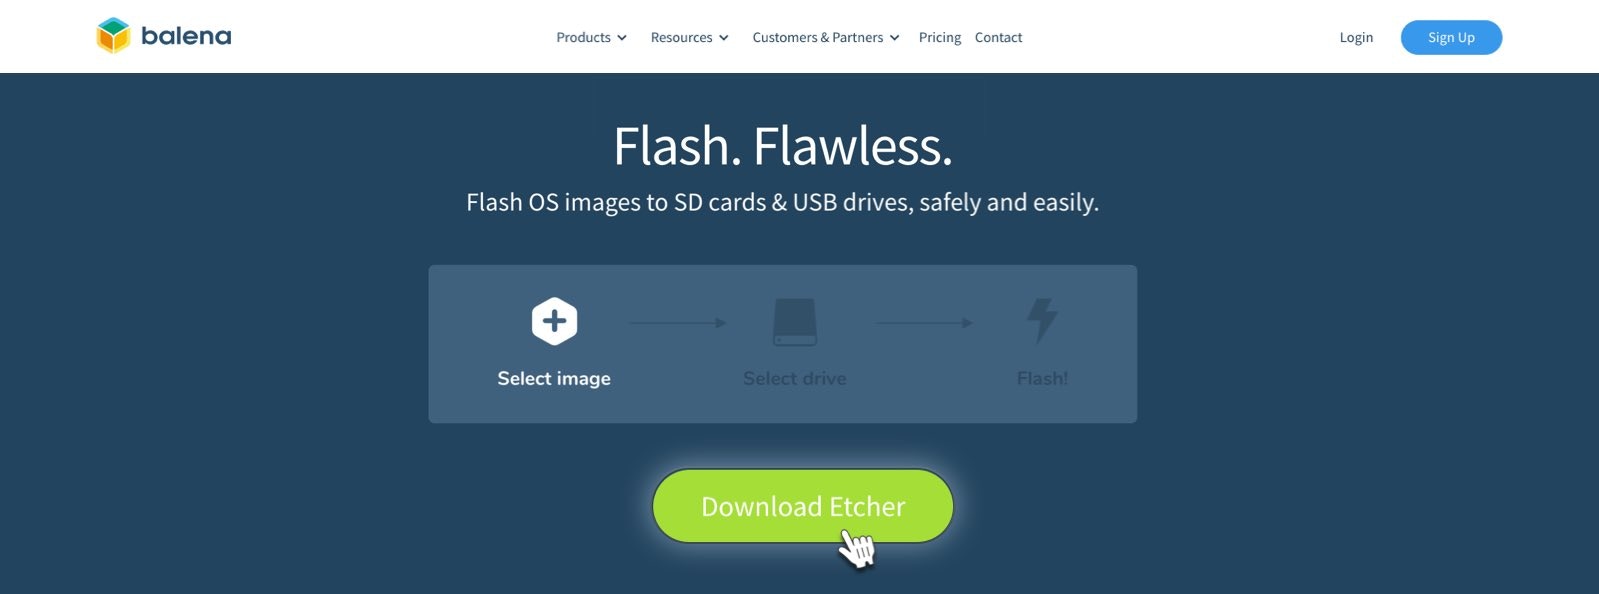
 ### 2. Burn the HiveOS image into the hard drive of the machine you want to rent using [Etcher.io](https://etcher.balena.io/)
 ### 3. Add a new worker in HiveOS
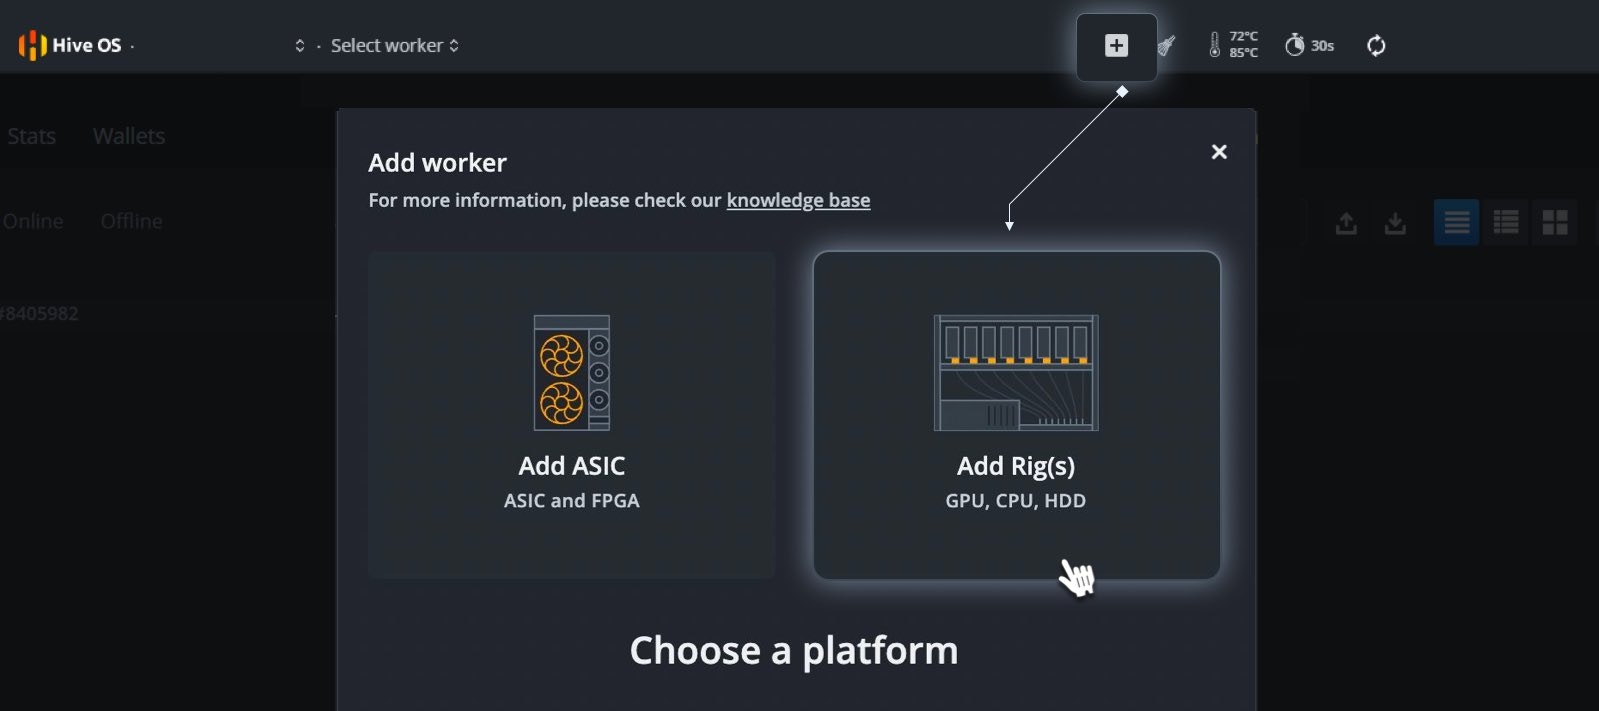 In this step, what you are required to do is:
* Click on the plus icon on the toolbar and select **Add Worker** option.
* Enter the required information for the new worker, such as the worker name, rig type, and other details as needed.
* Save or confirm the changes to add the new worker to your account..
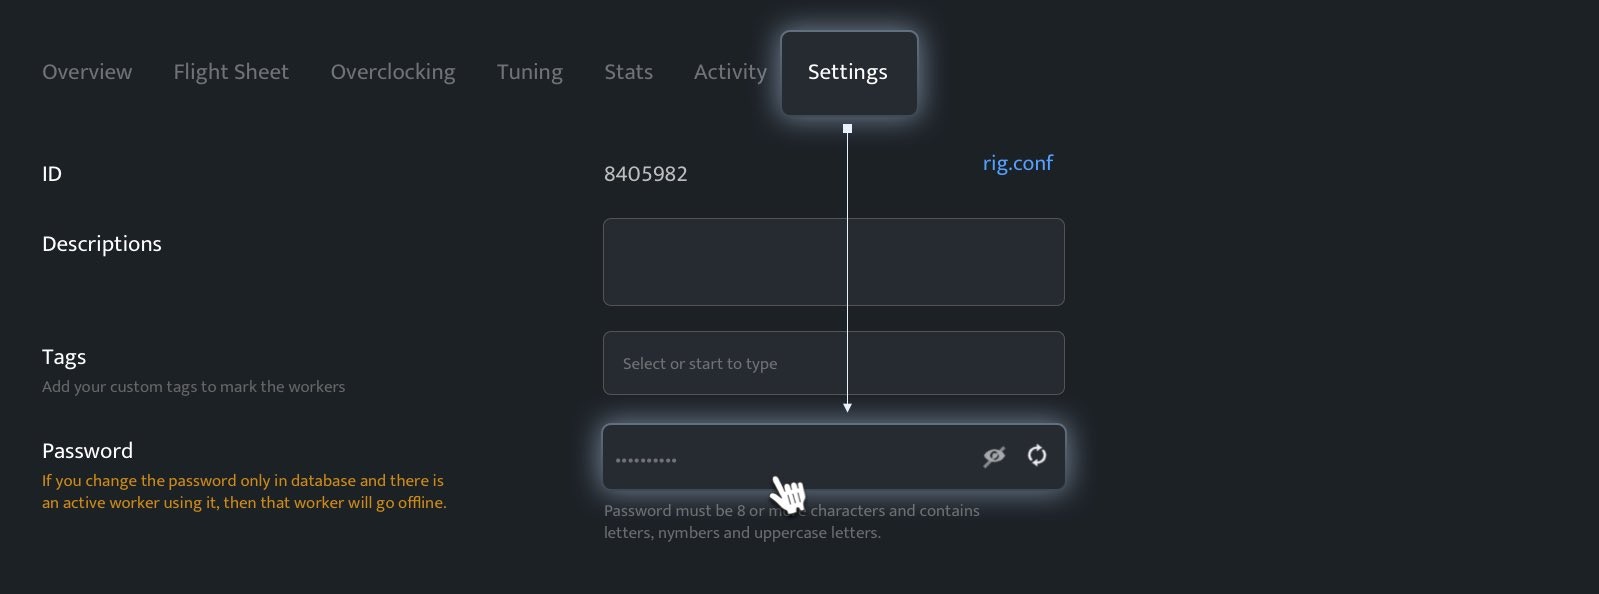
### 4. In the settings, enter the Rig ID and password in the rig
In this step, what you are required to do is:
* Click on the plus icon on the toolbar and select **Add Worker** option.
* Enter the required information for the new worker, such as the worker name, rig type, and other details as needed.
* Save or confirm the changes to add the new worker to your account..
### 4. In the settings, enter the Rig ID and password in the rig
 ### 5. Open the console from the toolbar
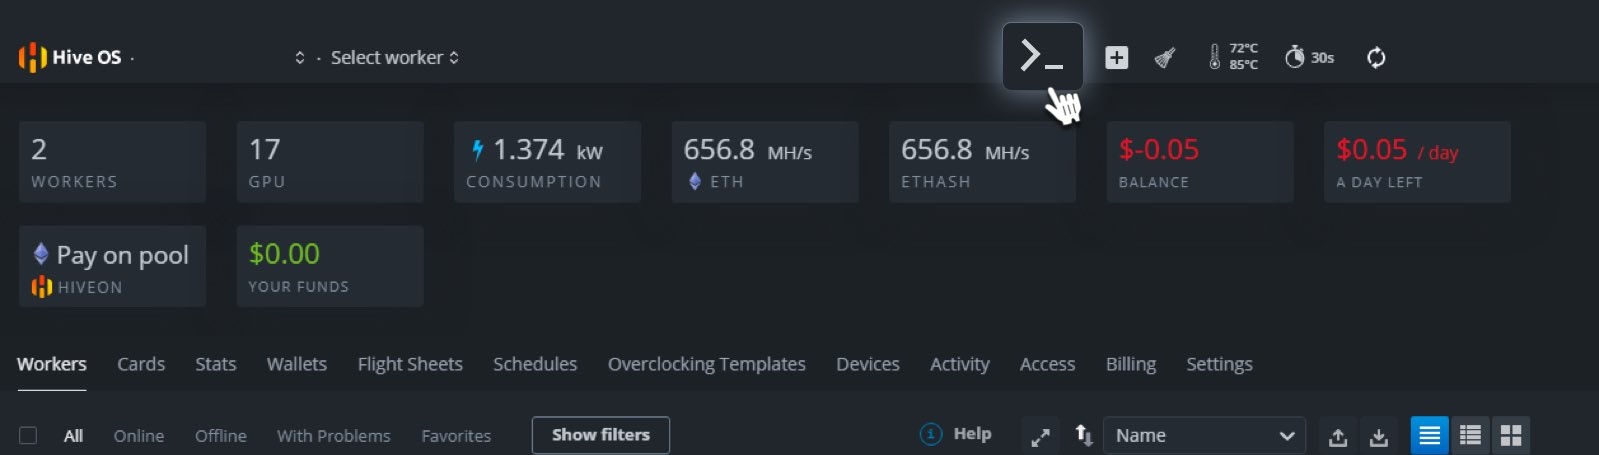 Click on the Console icon in the toolbar to open the command line interface
### 6. Enter commands into the command line
**Command Line** is a tool on your computer that lets you type in commands to tell the computer what to do. Instead of clicking on things with a mouse, you write instructions, and the computer follows them. It's like talking directly to your computer using text.
Click on the Console icon in the toolbar to open the command line interface
### 6. Enter commands into the command line
**Command Line** is a tool on your computer that lets you type in commands to tell the computer what to do. Instead of clicking on things with a mouse, you write instructions, and the computer follows them. It's like talking directly to your computer using text.
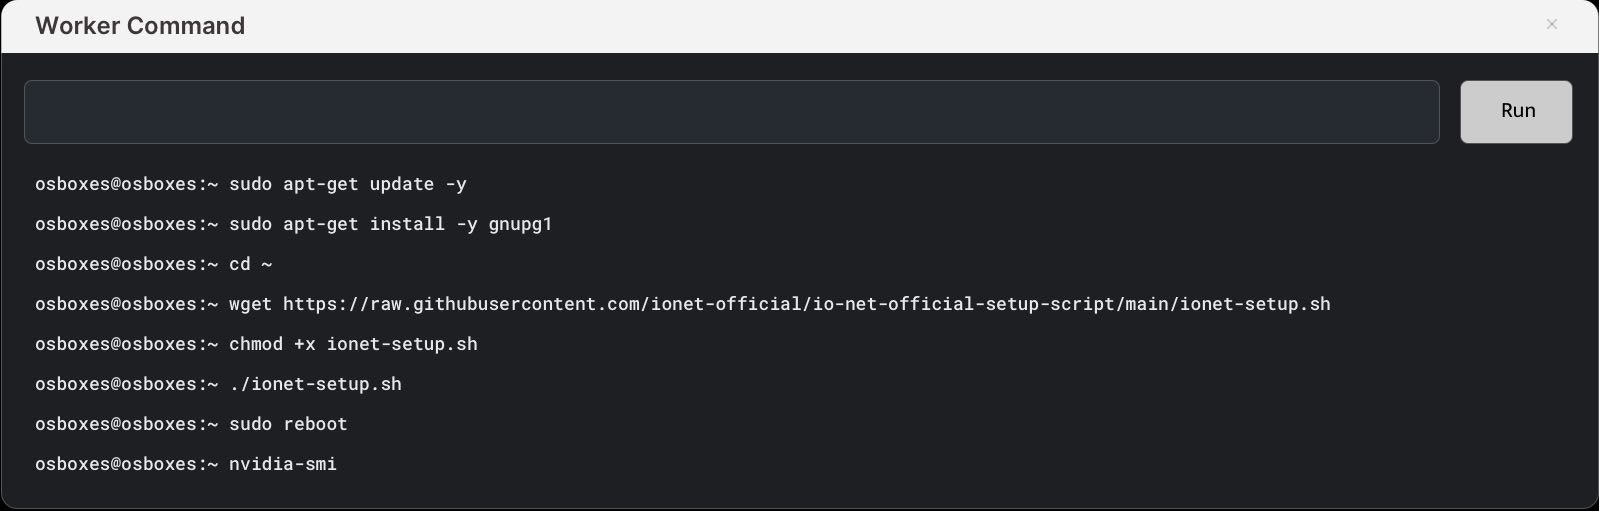 Enter the following commands in a row into the command line:
```
sudo apt-get update -y
```
```
sudo apt-get install -y gnupg1
```
```
cd ~
```
```
wget https://raw.githubusercontent.com/ionet-official/io-net-official-setup-script/main/ionet-setup.sh
```
```
chmod +x ionet-setup.sh
```
```
./ionet-setup.sh
```
```
sudo reboot
```
To check if all your graphics cards are connected, enter this additional command:
```
nvidia-smi
```
When using SXM or NV Link, ensure that Fabric Manager is [installed correctly](https://docs.nvidia.com/datacenter/tesla/pdf/fabric-manager-user-guide.pdf) and enabled. This will prevent initialization issues and ensure that all GPUs are functioning properly, thereby avoiding PoW verification failures.
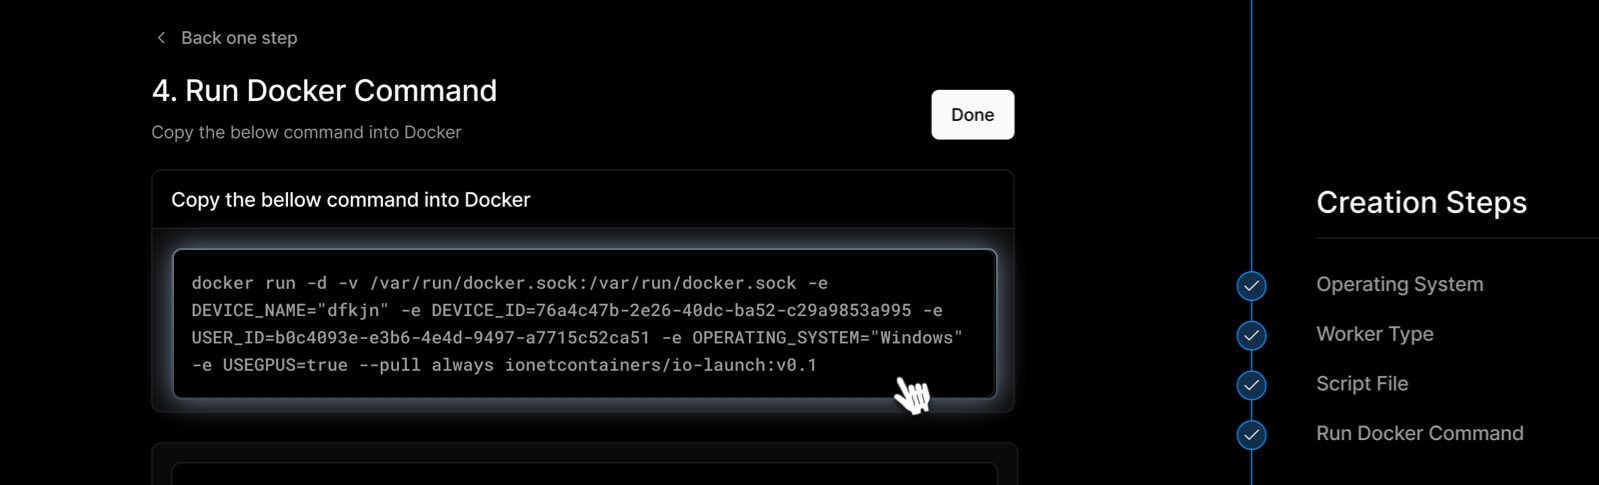
### 7. Execute the Docker command provided on the 'Connect New Device' page in your dashboard.
Enter the following commands in a row into the command line:
```
sudo apt-get update -y
```
```
sudo apt-get install -y gnupg1
```
```
cd ~
```
```
wget https://raw.githubusercontent.com/ionet-official/io-net-official-setup-script/main/ionet-setup.sh
```
```
chmod +x ionet-setup.sh
```
```
./ionet-setup.sh
```
```
sudo reboot
```
To check if all your graphics cards are connected, enter this additional command:
```
nvidia-smi
```
When using SXM or NV Link, ensure that Fabric Manager is [installed correctly](https://docs.nvidia.com/datacenter/tesla/pdf/fabric-manager-user-guide.pdf) and enabled. This will prevent initialization issues and ensure that all GPUs are functioning properly, thereby avoiding PoW verification failures.
### 7. Execute the Docker command provided on the 'Connect New Device' page in your dashboard.
 ### 8. Check both IO-worker-monitor and IO-worker-vc are running
```
docker ps
```
Wait for the device to indicate "Running" on the device page.
If only one container appears, run the command "docker ps" again.
### Congratulations on successfully setting up your first Worker.
Now that your Worker has been successfully created and is running, you can track its status on the Workers page.
If you're having trouble installing Worker, please refer to our \[Worker troubleshooting guide]/guides/workers/troubleshoot-worker-general). If the issue persists or you need further assistance, feel free to [check our knowledge base](https://support.io.net/en/support/home) for answers, and if you still need help, don’t hesitate to open a support ticket!
### 8. Check both IO-worker-monitor and IO-worker-vc are running
```
docker ps
```
Wait for the device to indicate "Running" on the device page.
If only one container appears, run the command "docker ps" again.
### Congratulations on successfully setting up your first Worker.
Now that your Worker has been successfully created and is running, you can track its status on the Workers page.
If you're having trouble installing Worker, please refer to our \[Worker troubleshooting guide]/guides/workers/troubleshoot-worker-general). If the issue persists or you need further assistance, feel free to [check our knowledge base](https://support.io.net/en/support/home) for answers, and if you still need help, don’t hesitate to open a support ticket!