> ## Documentation Index
> Fetch the complete documentation index at: https://io.net/docs/llms.txt
> Use this file to discover all available pages before exploring further.
# Solana Wallet
> This document discusses Solana and provides instructions on how to create a Solana Wallet.
## What is a Solana Wallet?
A Solana wallet is a digital wallet used to store, manage, and interact with Solana (SOL) tokens and other assets on the Solana blockchain. It allows users to securely send, receive, and store their SOL tokens, as well as participate in decentralized finance (DeFi) activities such as staking, lending, and trading on decentralized exchanges (DEXs). Solana wallets come in various forms, including web wallets, mobile wallets, desktop wallets, and hardware wallets, each offering different levels of security and convenience for managing SOL tokens and engaging with the Solana ecosystem.
## How to Create a Solana Wallet
IO.NET is a DeFi project on Solana that pools GPU/CPU resources for artificial intelligence (AI) and machine learning (ML) companies. It uses Solana's blockchain for transparent proof-of-compute, making all jobs and transactions visible on-chain. You can create any Solana (SOL) wallet from the official list here: [Solana Ecosystem](https://solana.com/en/ecosystem/explore?categories=wallet).
For this example, we will use a popular option - Phantom, and demonstrate how to configure and use the wallet:
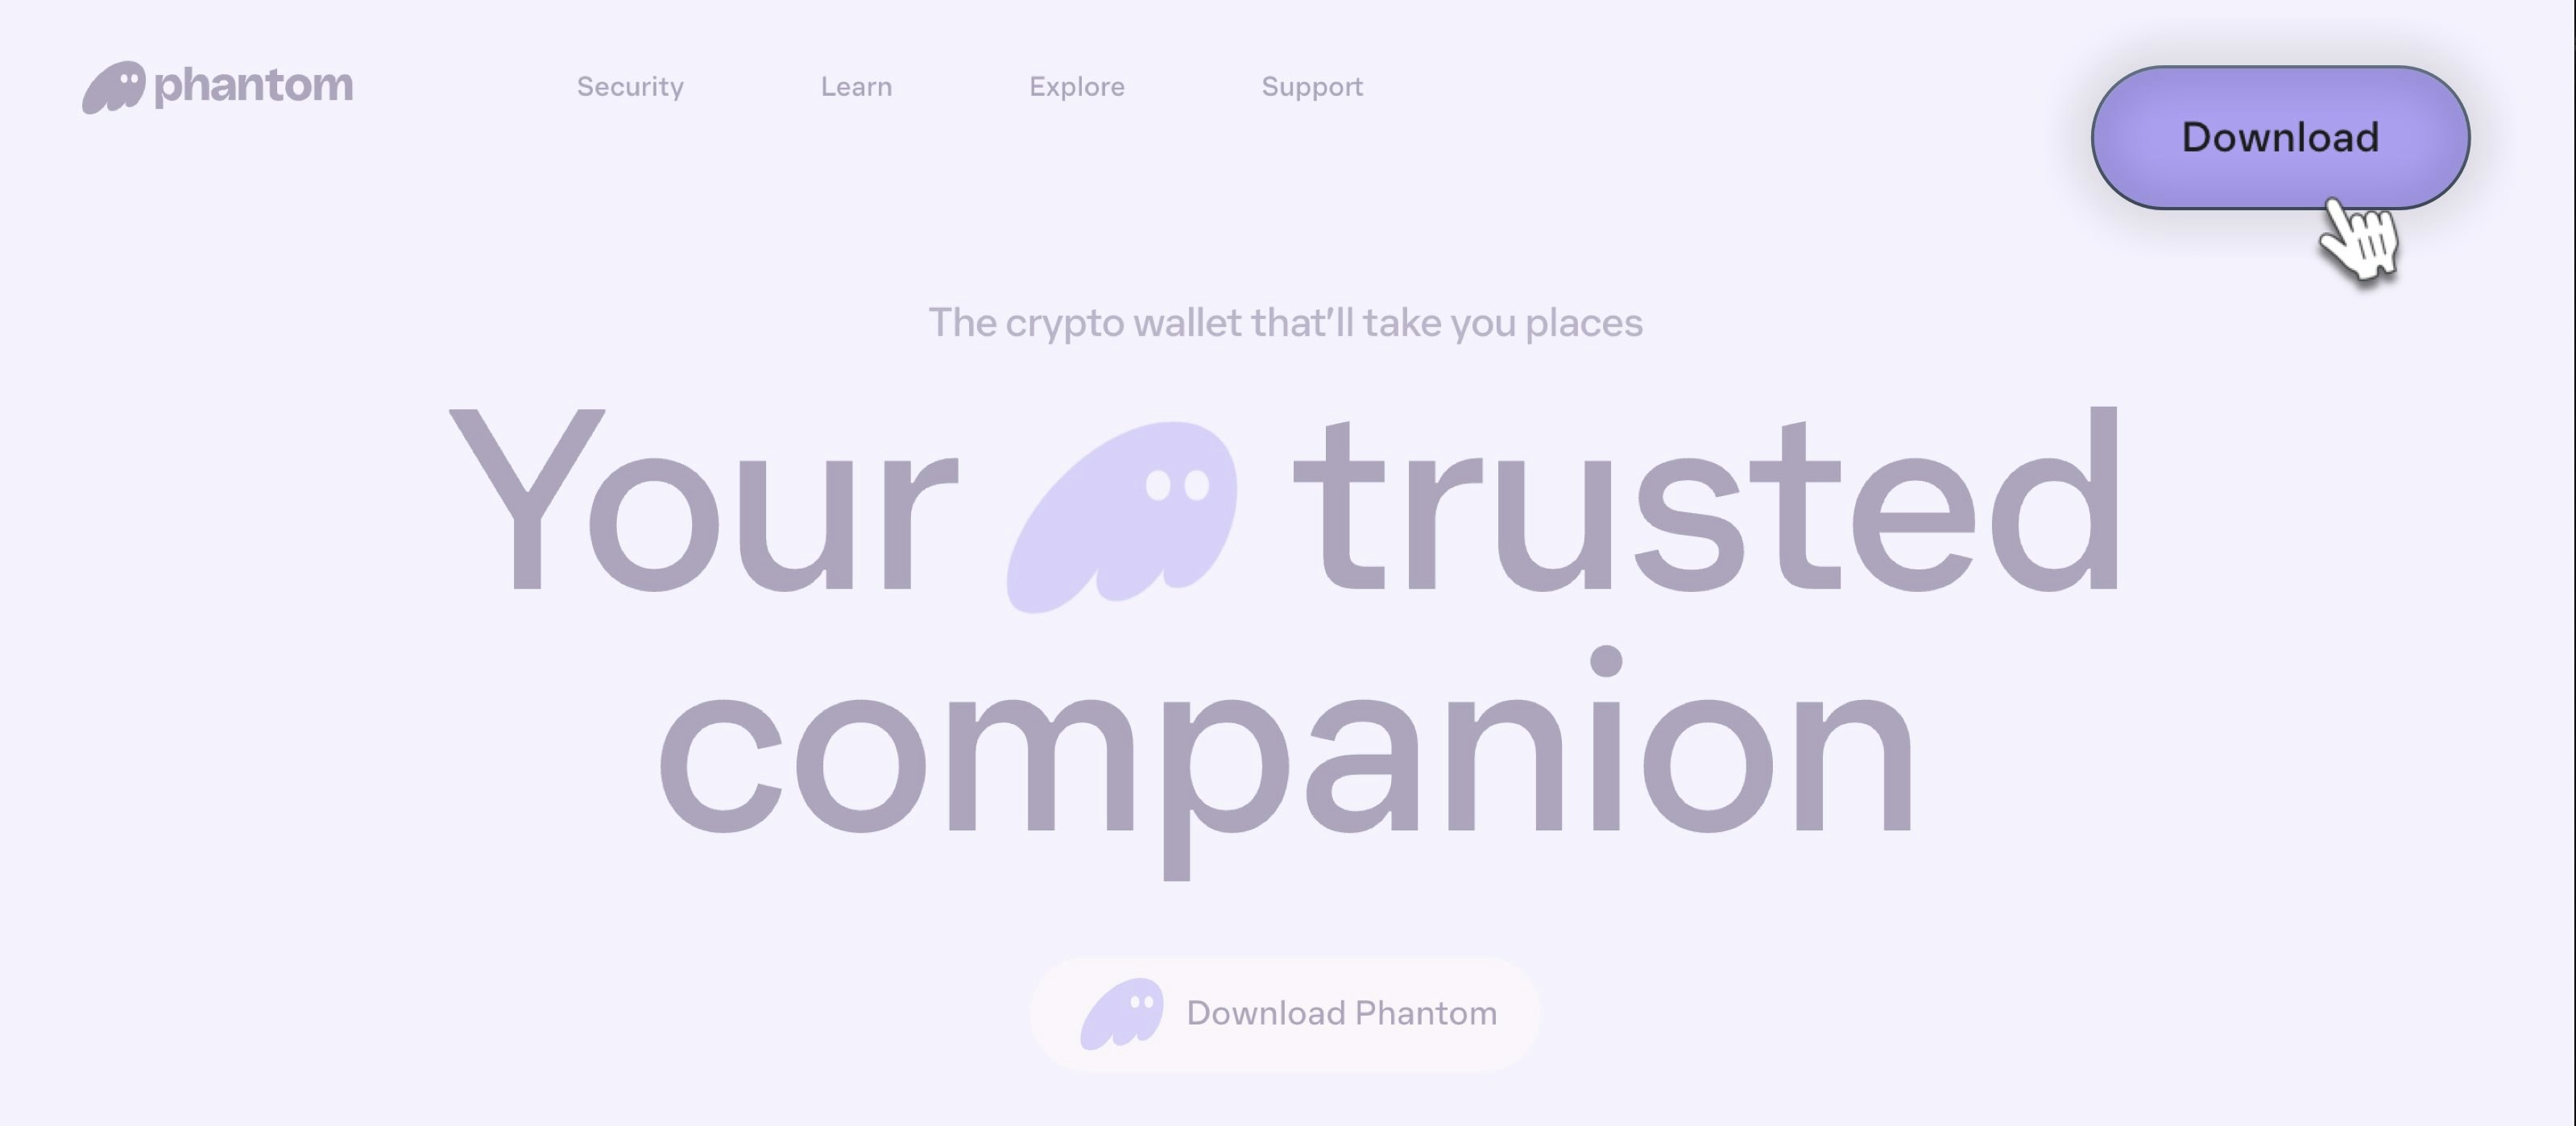
#### 1. Go to [Phantom Wallet.](https://phantom.app/)
1. Select the browser to install Phantom on. In this example, we use Chrome.
2. Click **Download**.
#### 2. Add to Chrome
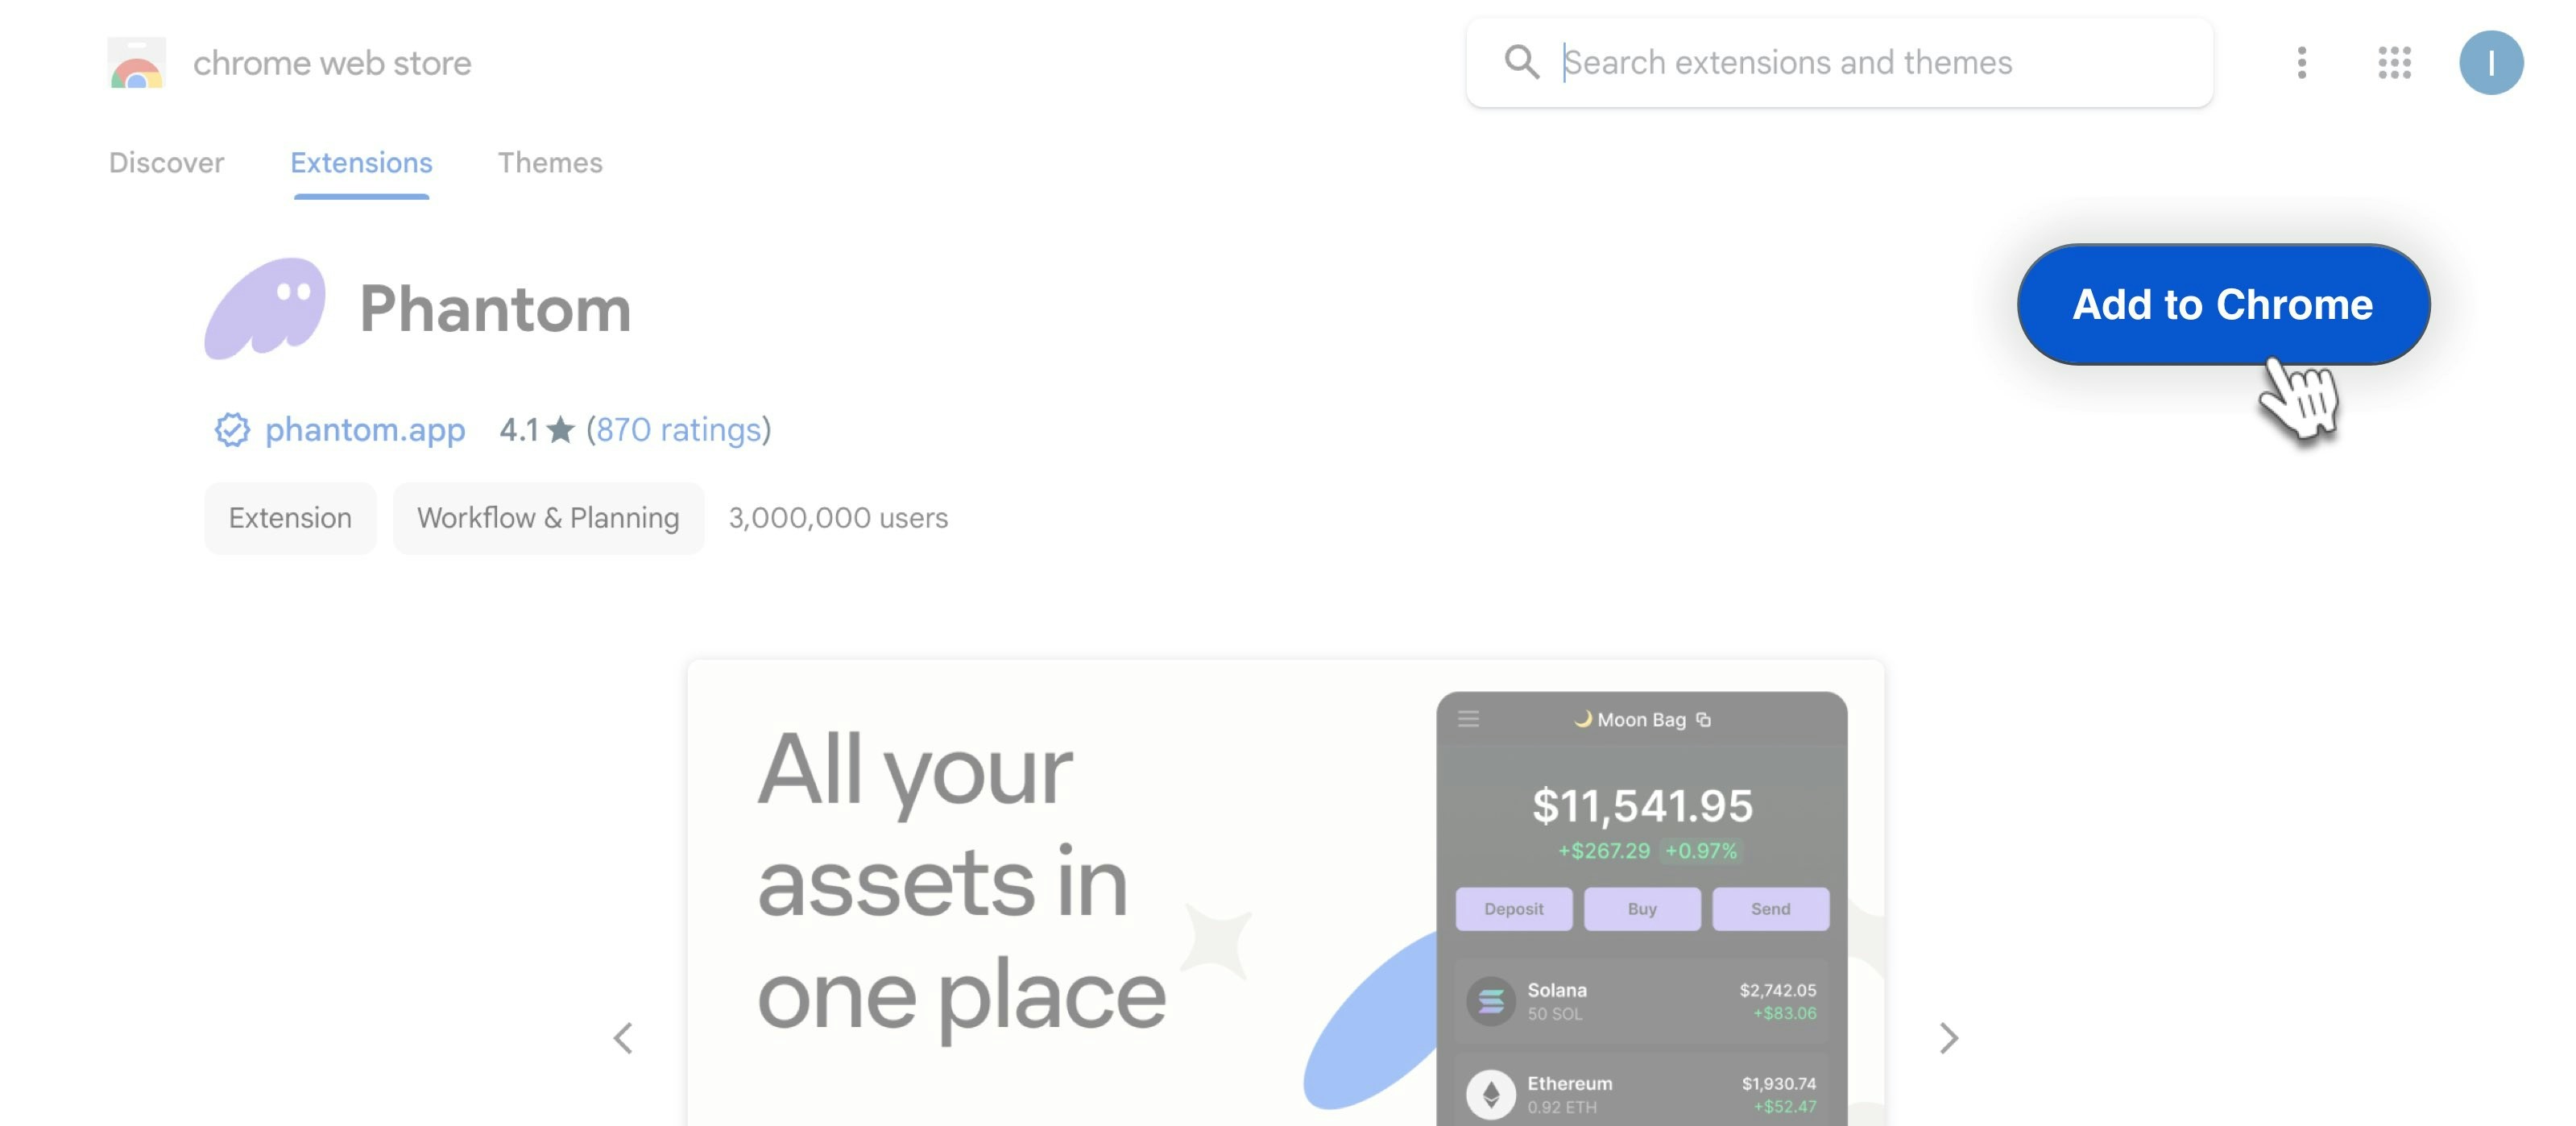
After you click **Download**, you're redirect to the extension download page.
Click **Add to Chrome** to add the extension to Chrome.
#### 3. Open the Phantom extension
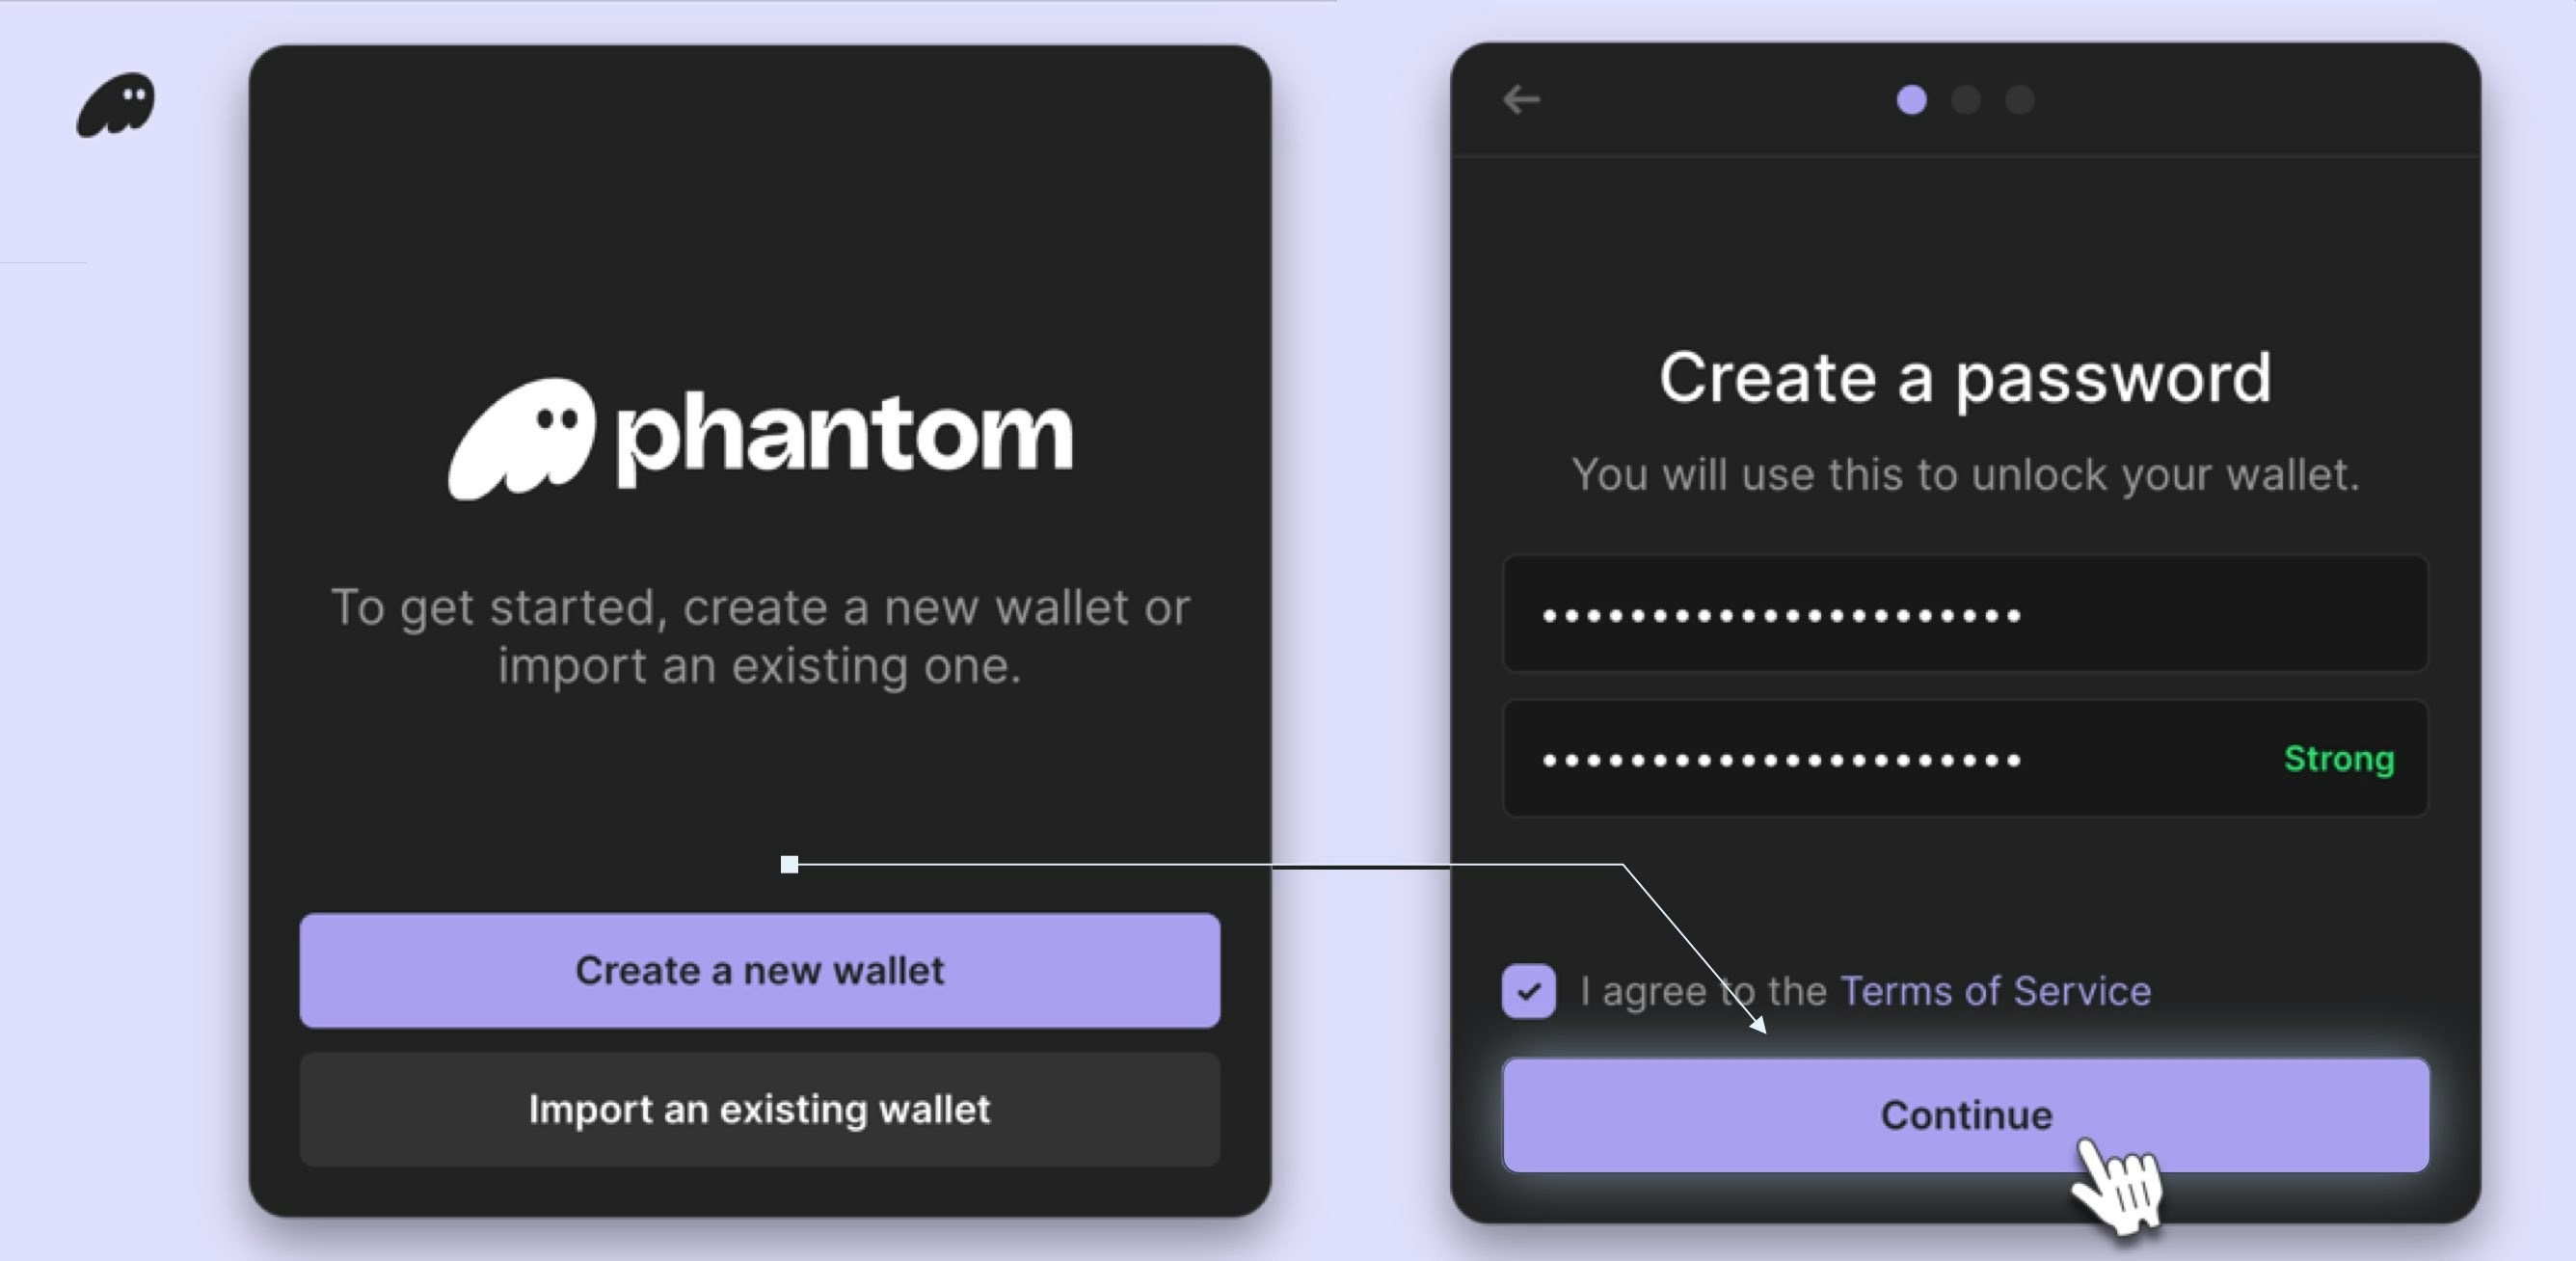
1. Click **Create a new wallet**.
2. Create a password for your wallet.
3. Click **Continue**.
If you forget your password you will need to restore your wallet using your seed words, provided in the next step. Also, if you clear the browser cache, you cannot login using a password. You must restore wallet again using the seed word.
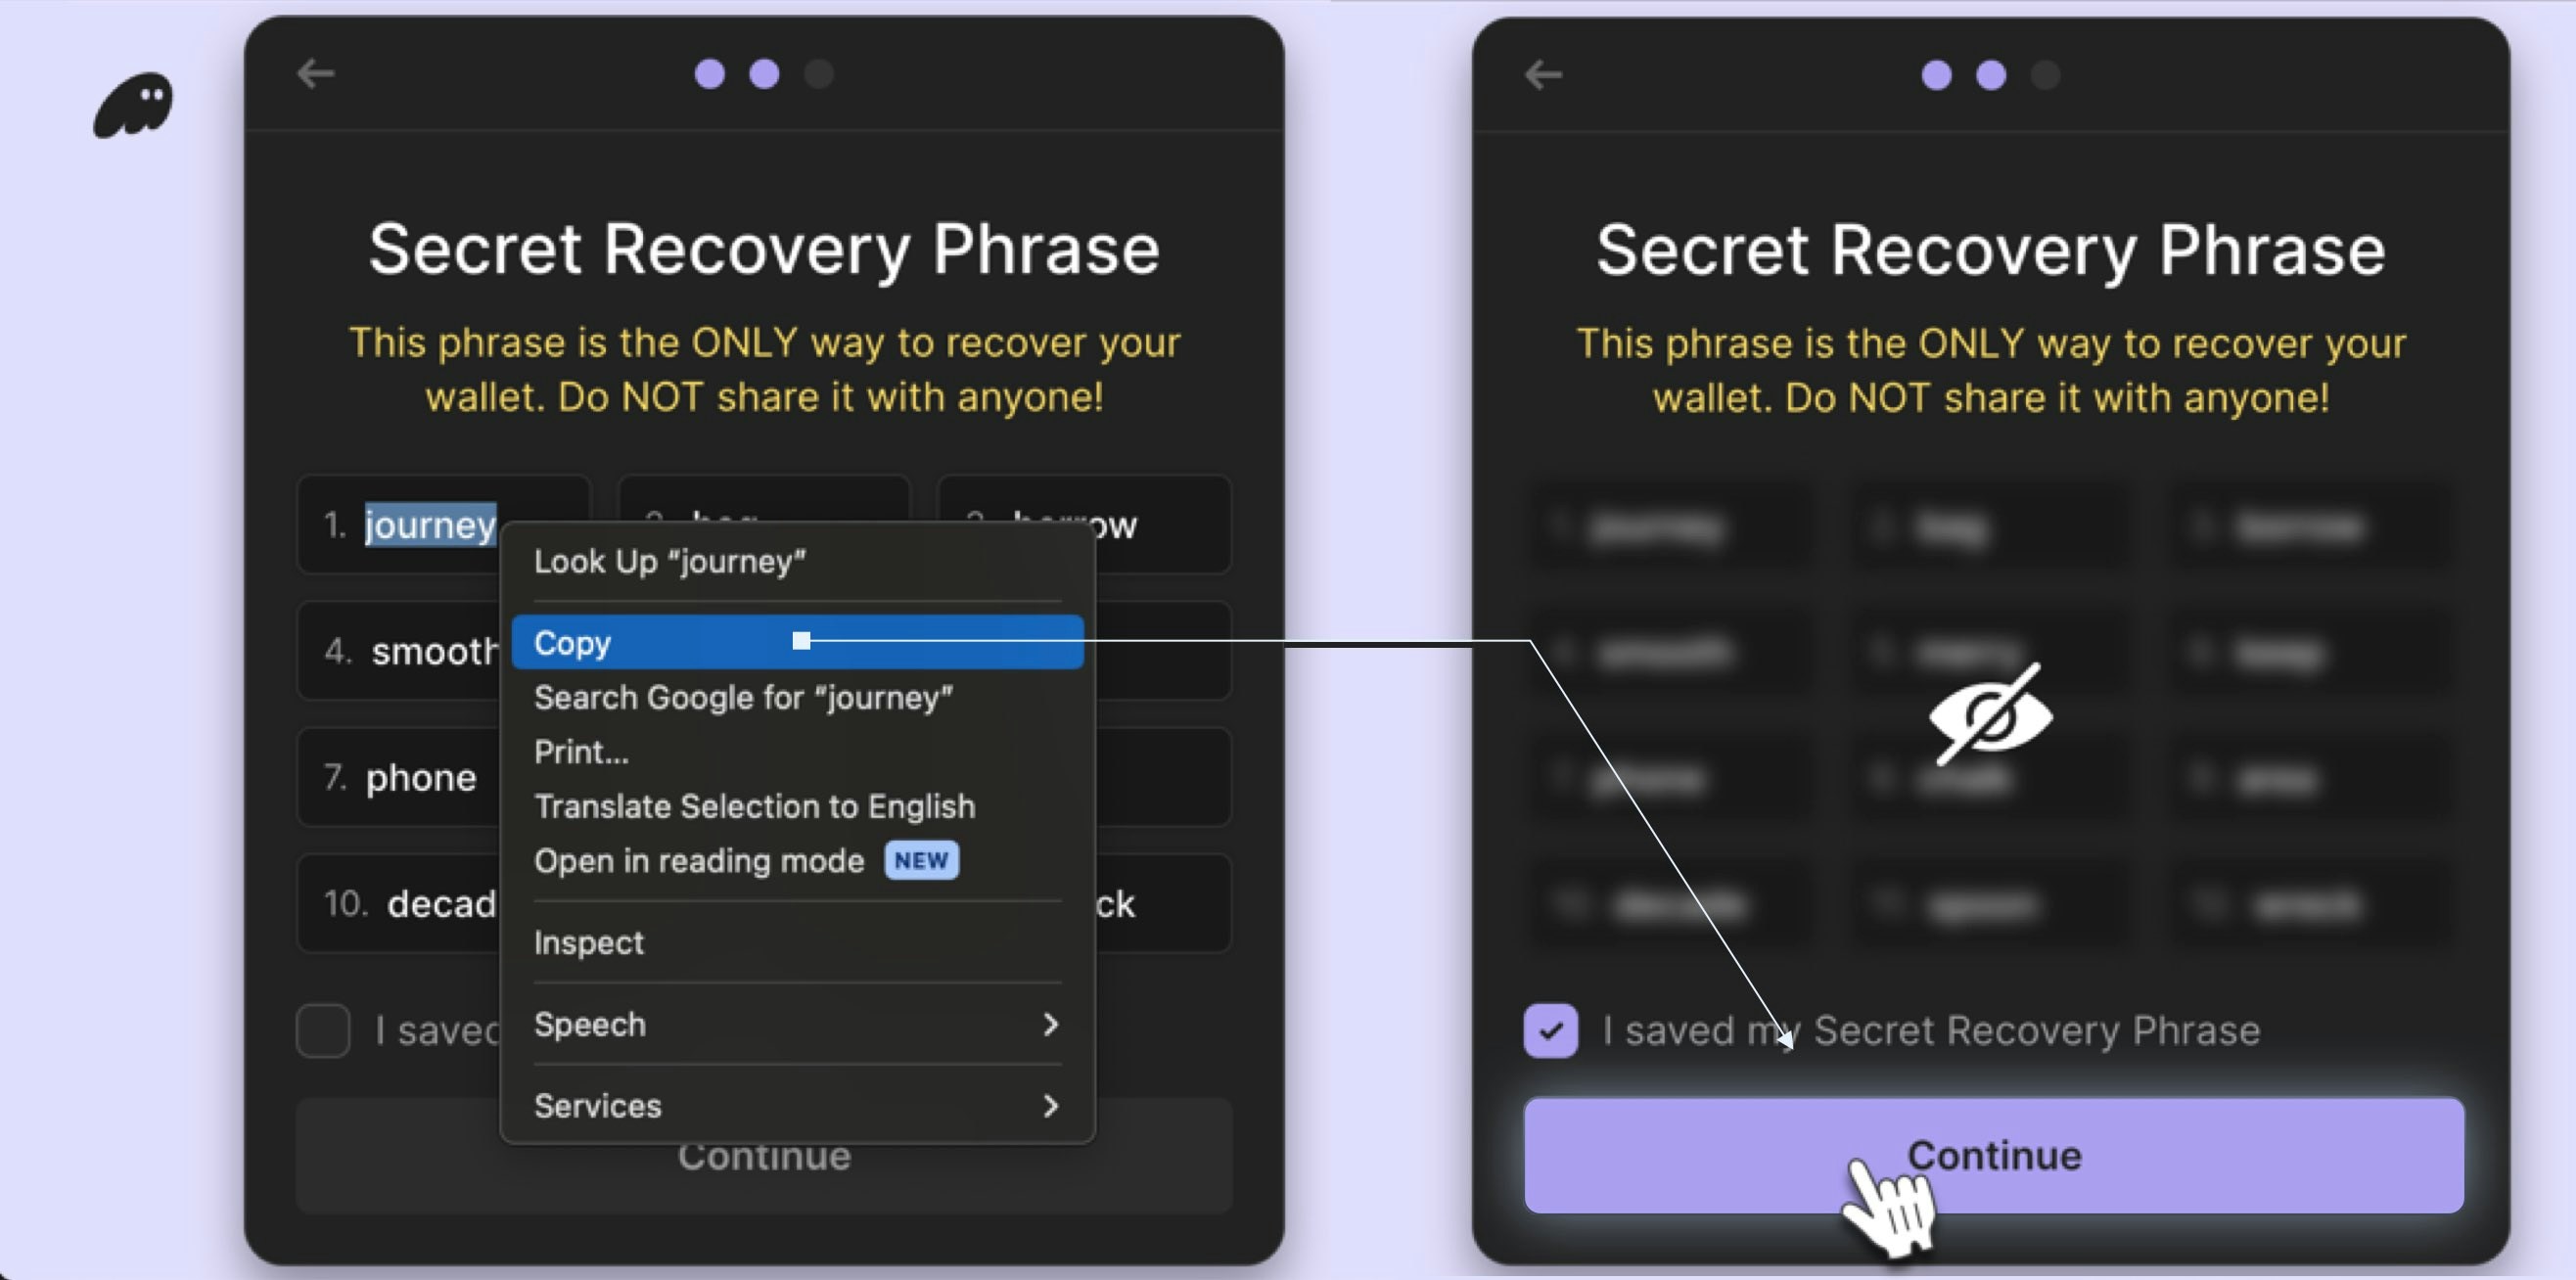
#### 4. Store the Recovery Phrase
1. In the **Secret Recovery Phrase** page, copy and store your 24 word Secret Recovery phrase. You can save them on password managers like Keepass.
2. Click **Continue**.
Failure to save your Secret Recovery Phrase can result in an inability to access your account. You may lose access to your coins.
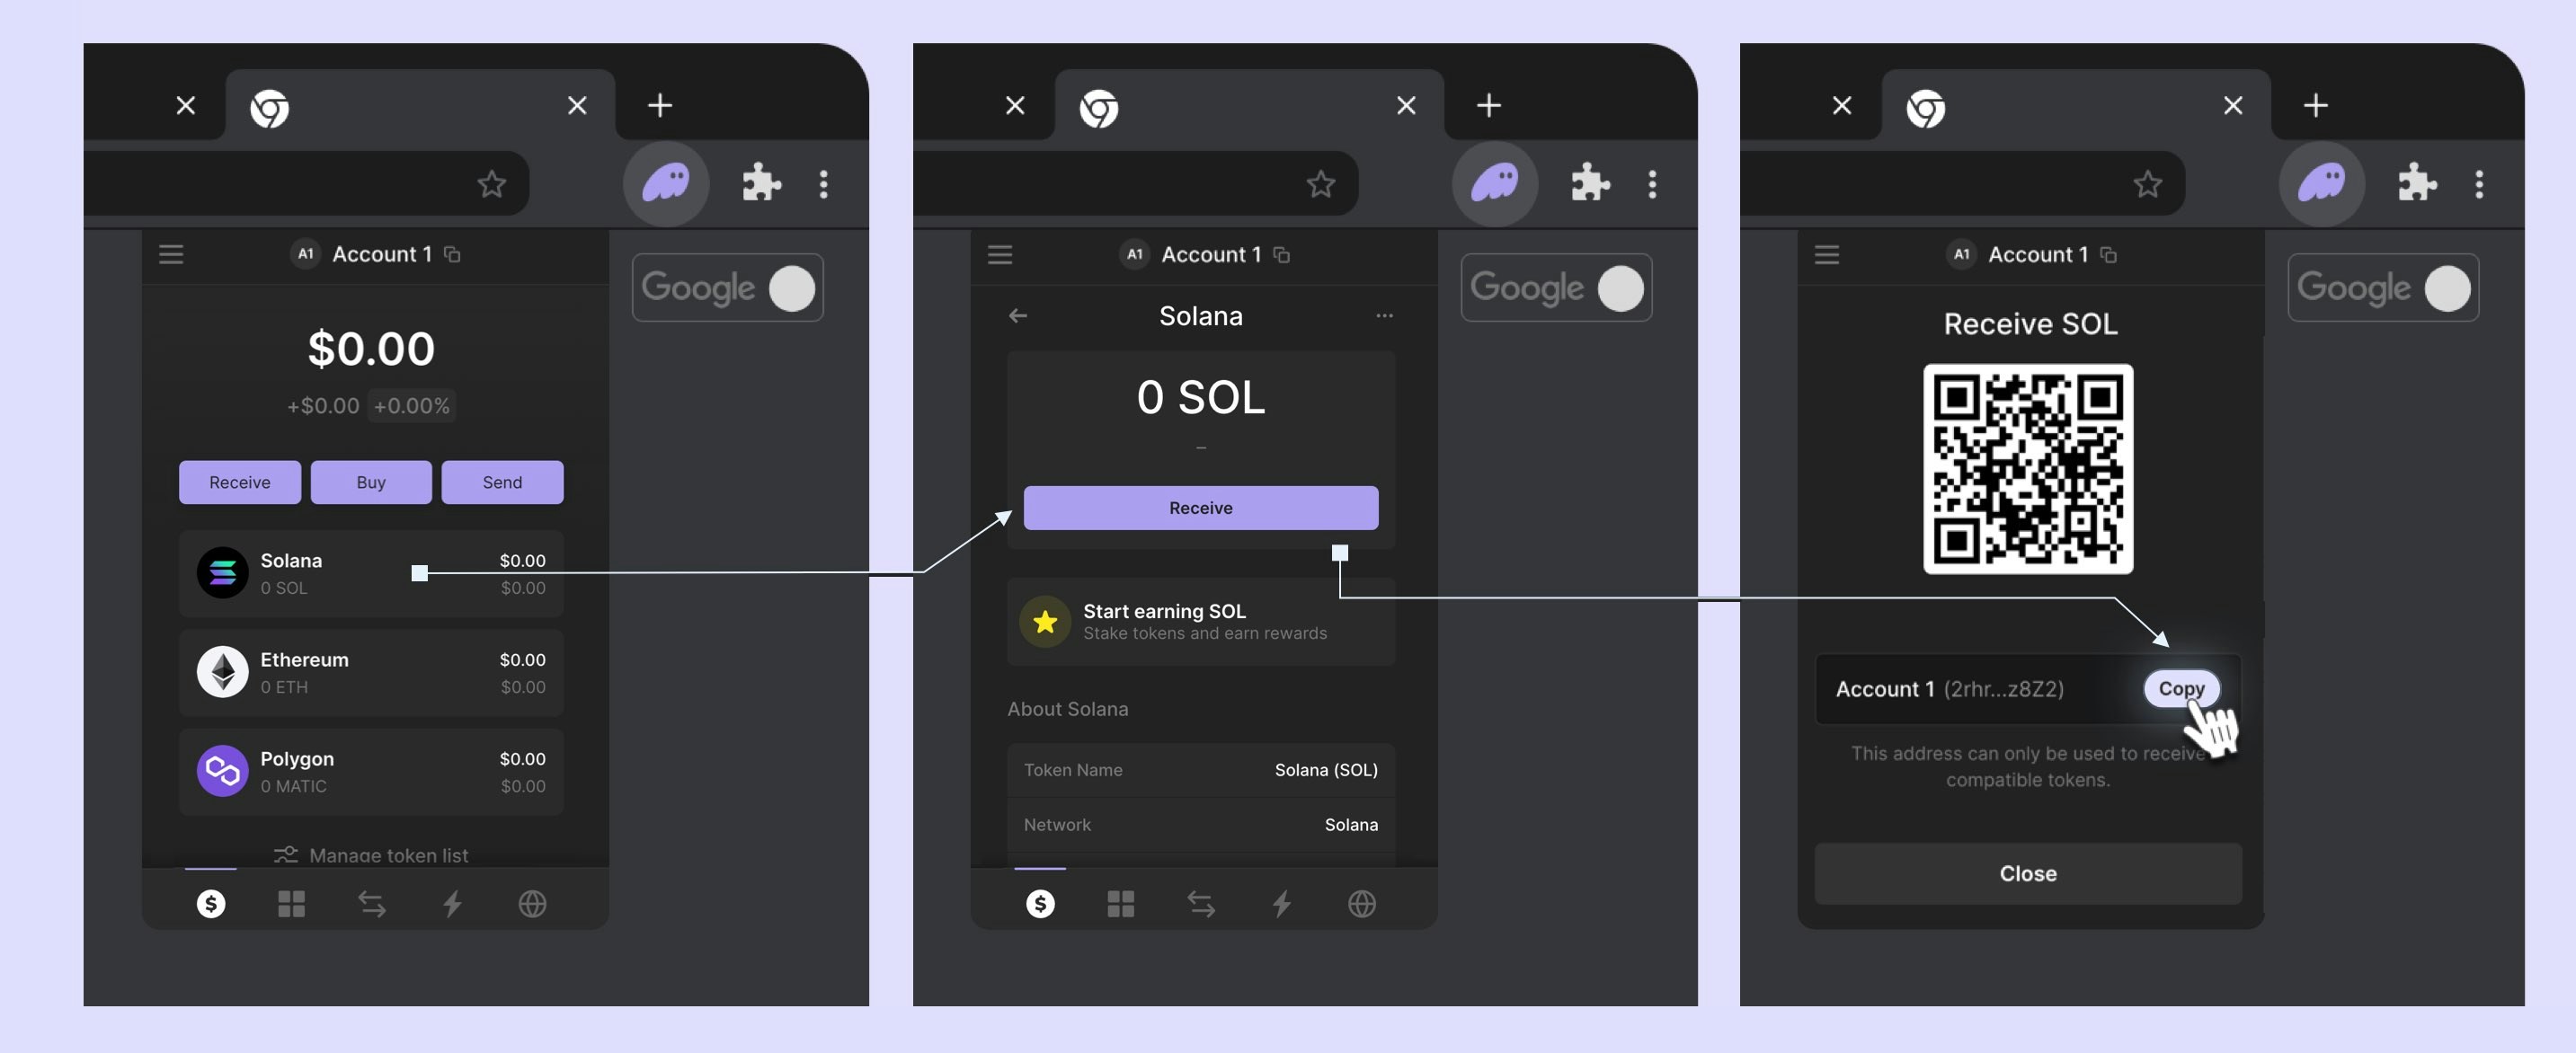
#### 5. Copy the SOL Address
After you click **Continue**, the wallet generates a new SOL address. This is the address used to receive coins.
To copy your SOL address:
1. Click on Solana wallet.
2. Click **Receive**.
3. Click Copy button to copy deposit address.
#### 6. Go to your IO ID account to set your new SOL wallet address.
Follow the steps below to set your SOL wallet address.
1. Log in to your io.net account.
2. Go to your **Account Settings** via dropdown menu (in the top-right corner).
3. In **Account Settings**, find the **Solana Wallet Address** block and click the **Add Wallet** button.
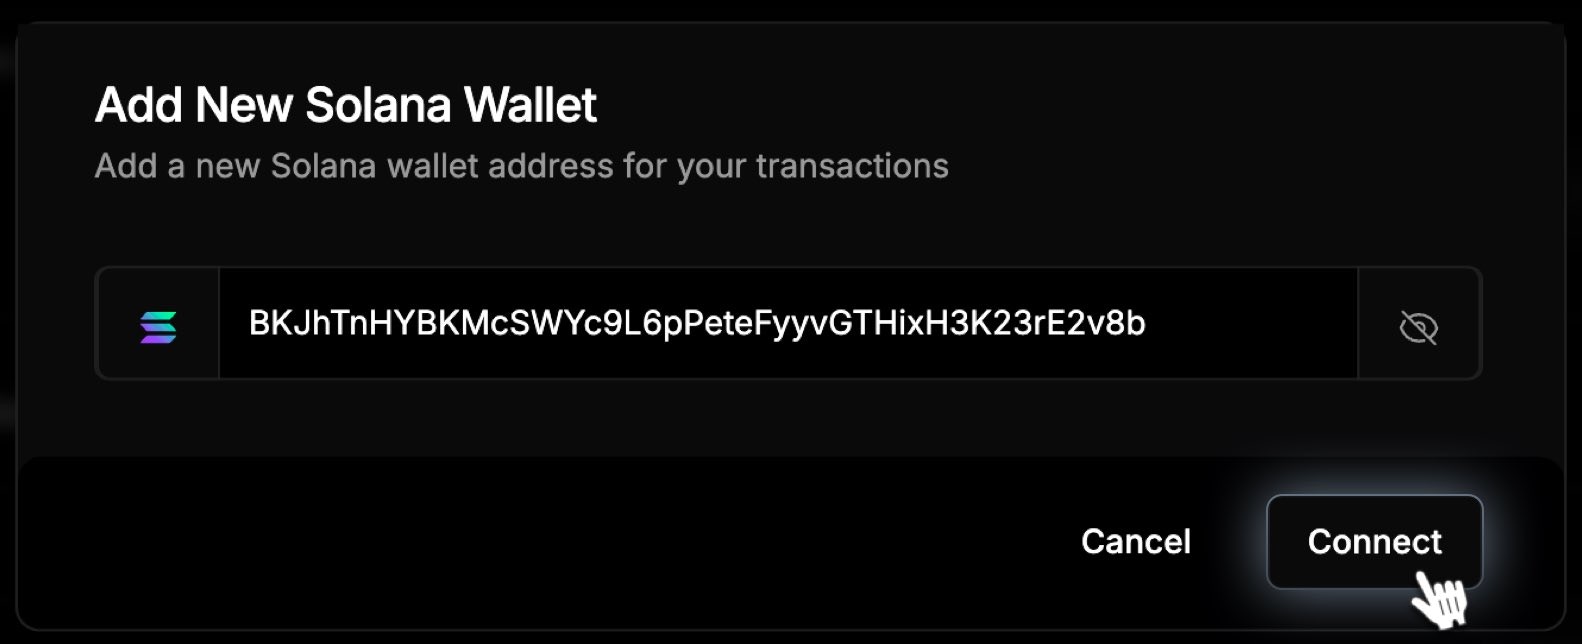
4. In the appearing popup, enter your new **Solana wallet** address.
5. Click **Connect** to add the new address.
 #### 2. Add to Chrome
After you click **Download**, you're redirect to the extension download page.
Click **Add to Chrome** to add the extension to Chrome.
#### 2. Add to Chrome
After you click **Download**, you're redirect to the extension download page.
Click **Add to Chrome** to add the extension to Chrome.
 #### 3. Open the Phantom extension
1. Click **Create a new wallet**.
2. Create a password for your wallet.
3. Click **Continue**.
#### 3. Open the Phantom extension
1. Click **Create a new wallet**.
2. Create a password for your wallet.
3. Click **Continue**.
 #### 4. Store the Recovery Phrase
1. In the **Secret Recovery Phrase** page, copy and store your 24 word Secret Recovery phrase. You can save them on password managers like Keepass.
2. Click **Continue**.
#### 4. Store the Recovery Phrase
1. In the **Secret Recovery Phrase** page, copy and store your 24 word Secret Recovery phrase. You can save them on password managers like Keepass.
2. Click **Continue**.
 #### 6. Go to your IO ID account to set your new SOL wallet address.
Follow the steps below to set your SOL wallet address.
1. Log in to your io.net account.
2. Go to your **Account Settings** via dropdown menu (in the top-right corner).
3. In **Account Settings**, find the **Solana Wallet Address** block and click the **Add Wallet** button.
4. In the appearing popup, enter your new **Solana wallet** address.
5. Click **Connect** to add the new address.
#### 6. Go to your IO ID account to set your new SOL wallet address.
Follow the steps below to set your SOL wallet address.
1. Log in to your io.net account.
2. Go to your **Account Settings** via dropdown menu (in the top-right corner).
3. In **Account Settings**, find the **Solana Wallet Address** block and click the **Add Wallet** button.
4. In the appearing popup, enter your new **Solana wallet** address.
5. Click **Connect** to add the new address.