Note: This feature is currently in Beta. We are actively refining the experience and would love to hear your feedback.
Getting Started
To begin training your model:- Go to your io.net Dashboard.
-
Navigate to Training under the IO Intelligence section.

-
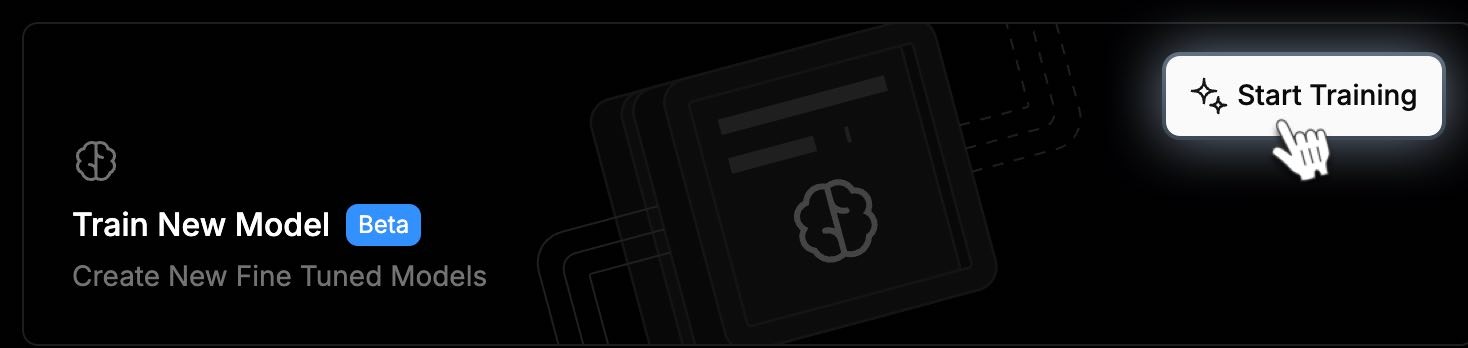
Click the Start Training button to launch the setup form.
io.net does not support training models from scratch. All training is done via fine-tuning or customization of existing models.
Build Your Training Workflow
The Training Model form is designed to guide you through the setup process, step by step.1. Select a Training Method
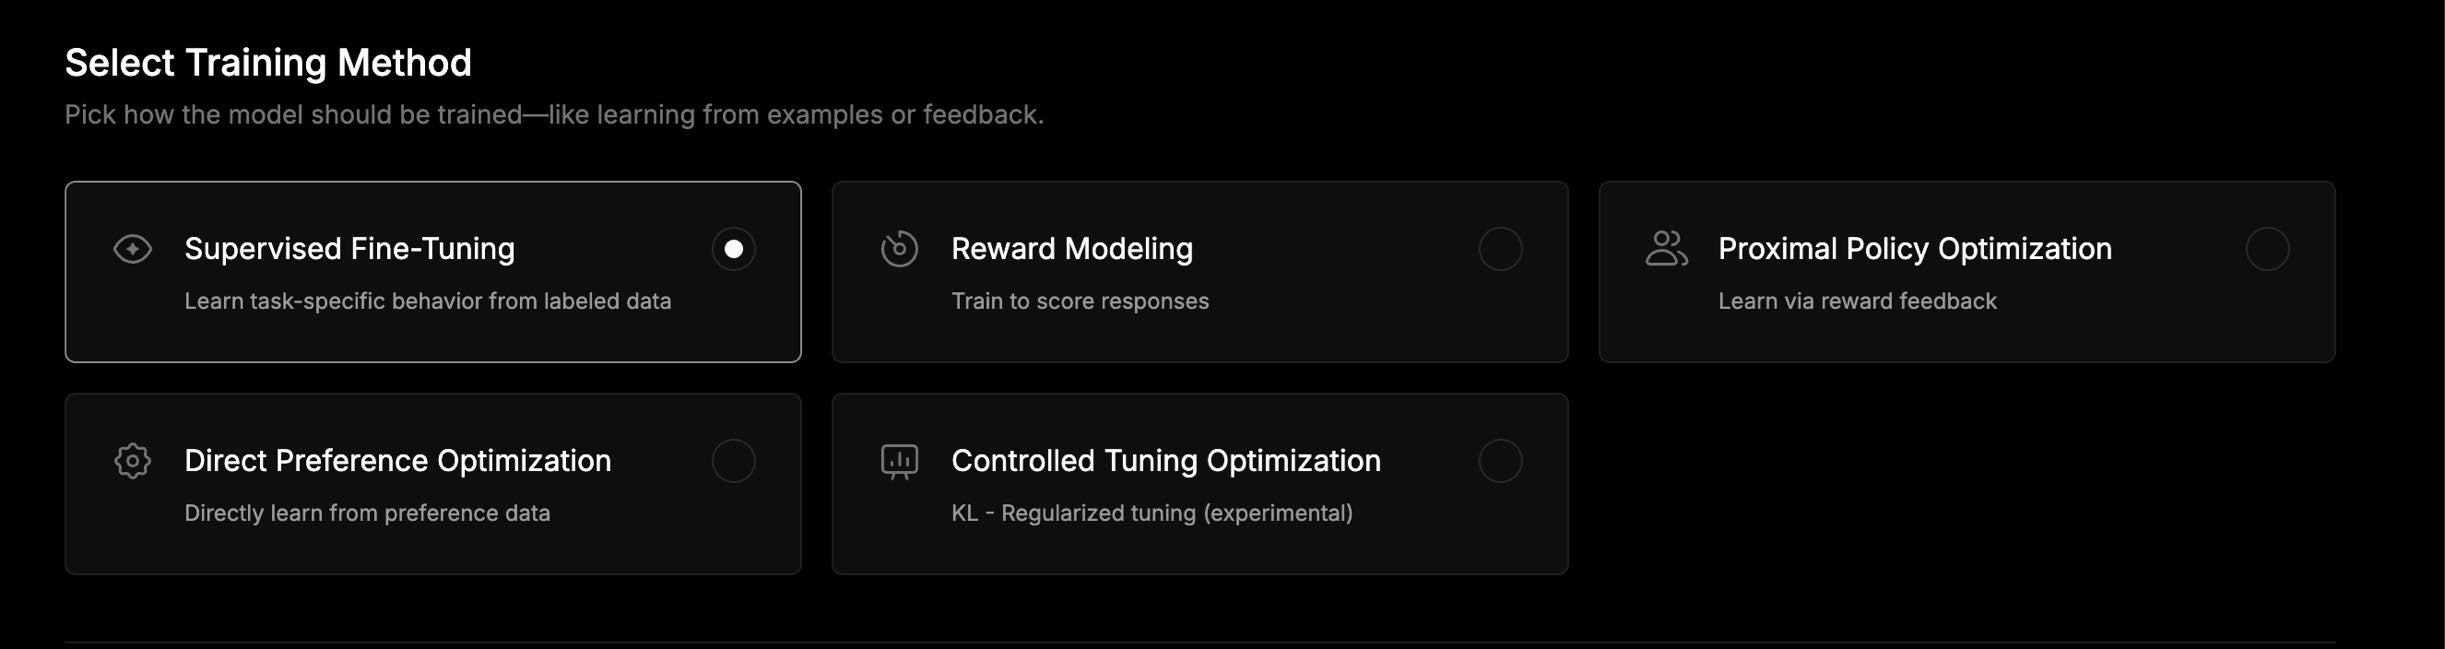
Pick how your model should learn. You can choose from a variety of advanced methods:- Supervised Fine-Tuning: Teach your model using labeled datasets for task-specific learning.
- Reward Modeling: Train your model to assign scores to generated responses.
- Proximal Policy Optimization (PPO): Use reinforcement learning with reward feedback.
- Direct Preference Optimization (DPO): Optimize the model directly using ranked preferences.
- Controlled Tuning Optimization (Experimental): Apply KL-regularized tuning for fine-grained control.
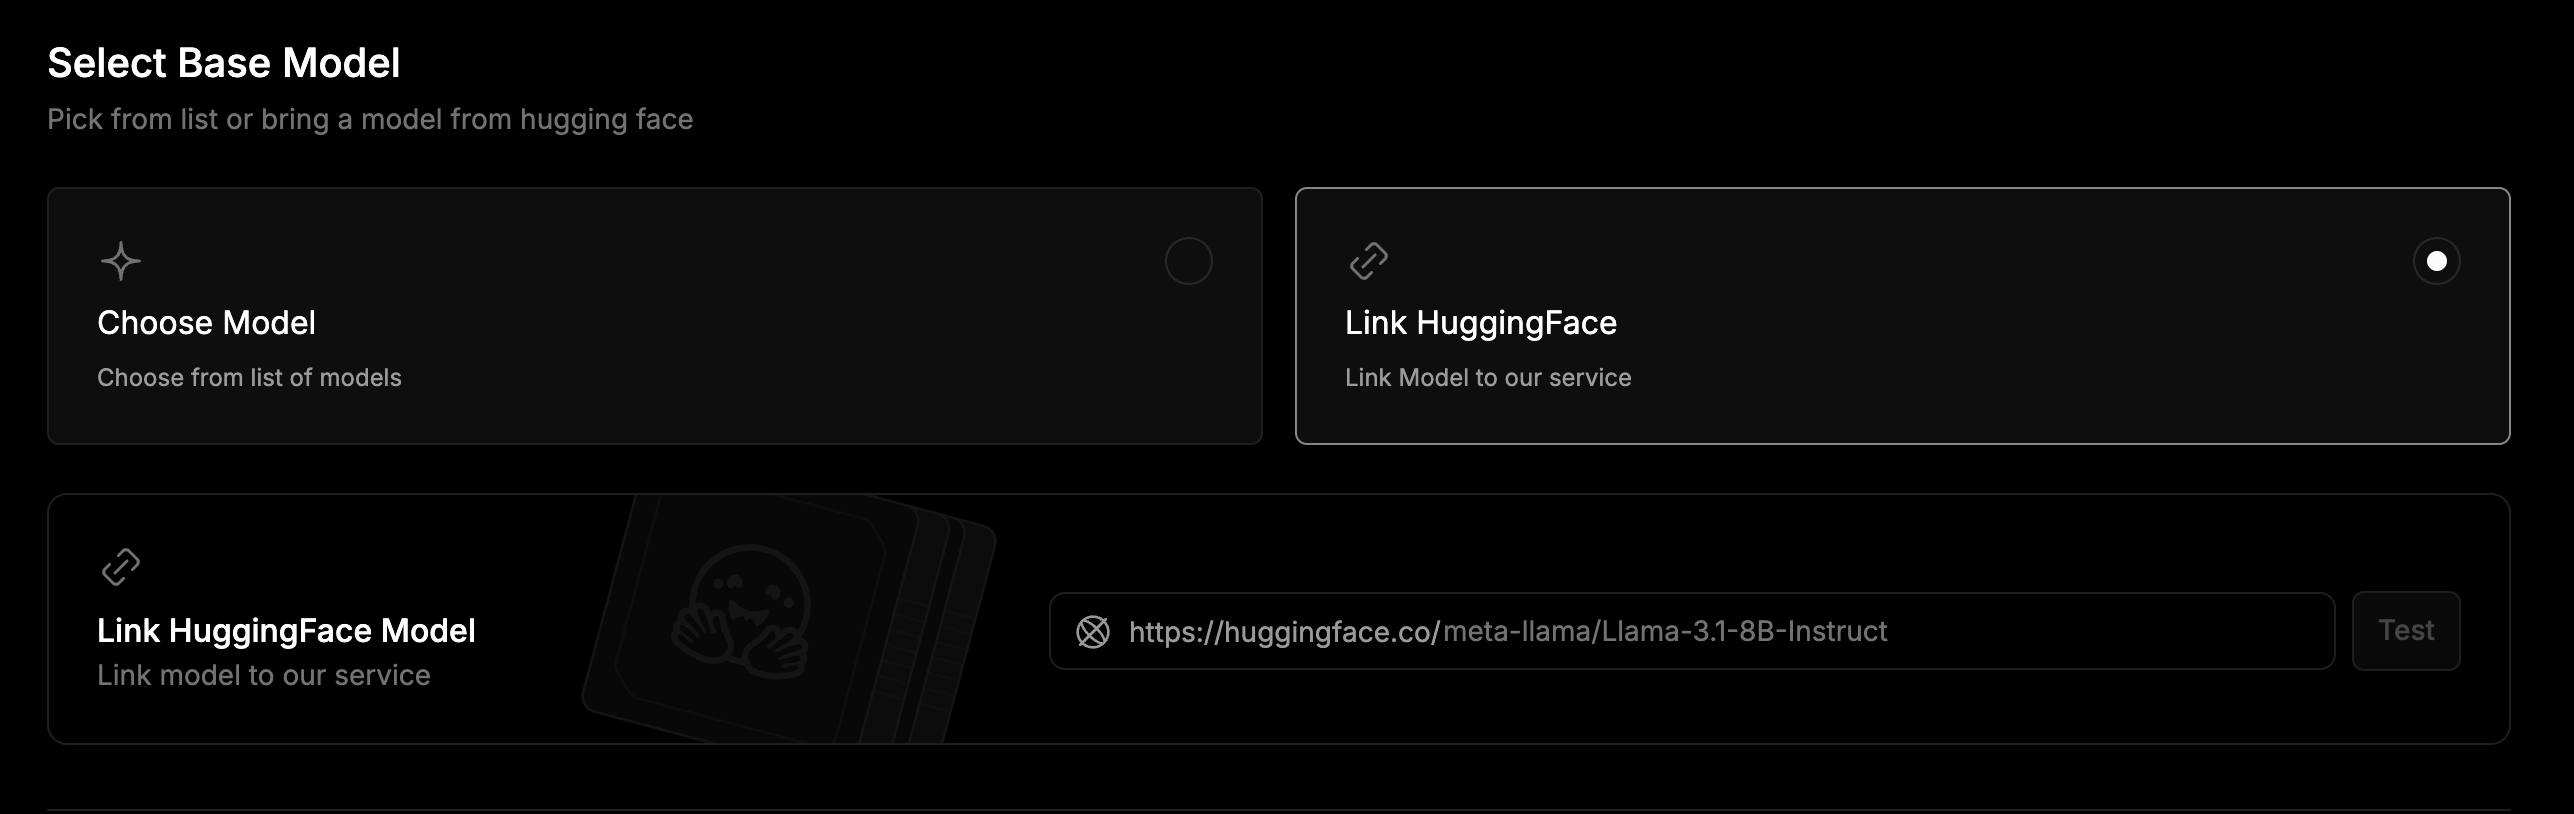
2. Select a Base Model
You can select a pre-integrated model from our library or bring your own model from Hugging Face.- Option A - Use a Preloaded Model
- Option B - Link a Hugging Face Model
Choose from our library of 561 open-source base models in the dropdown list, for example, LLaMA, Mistral, Falcon, GPT-Neo, and many more.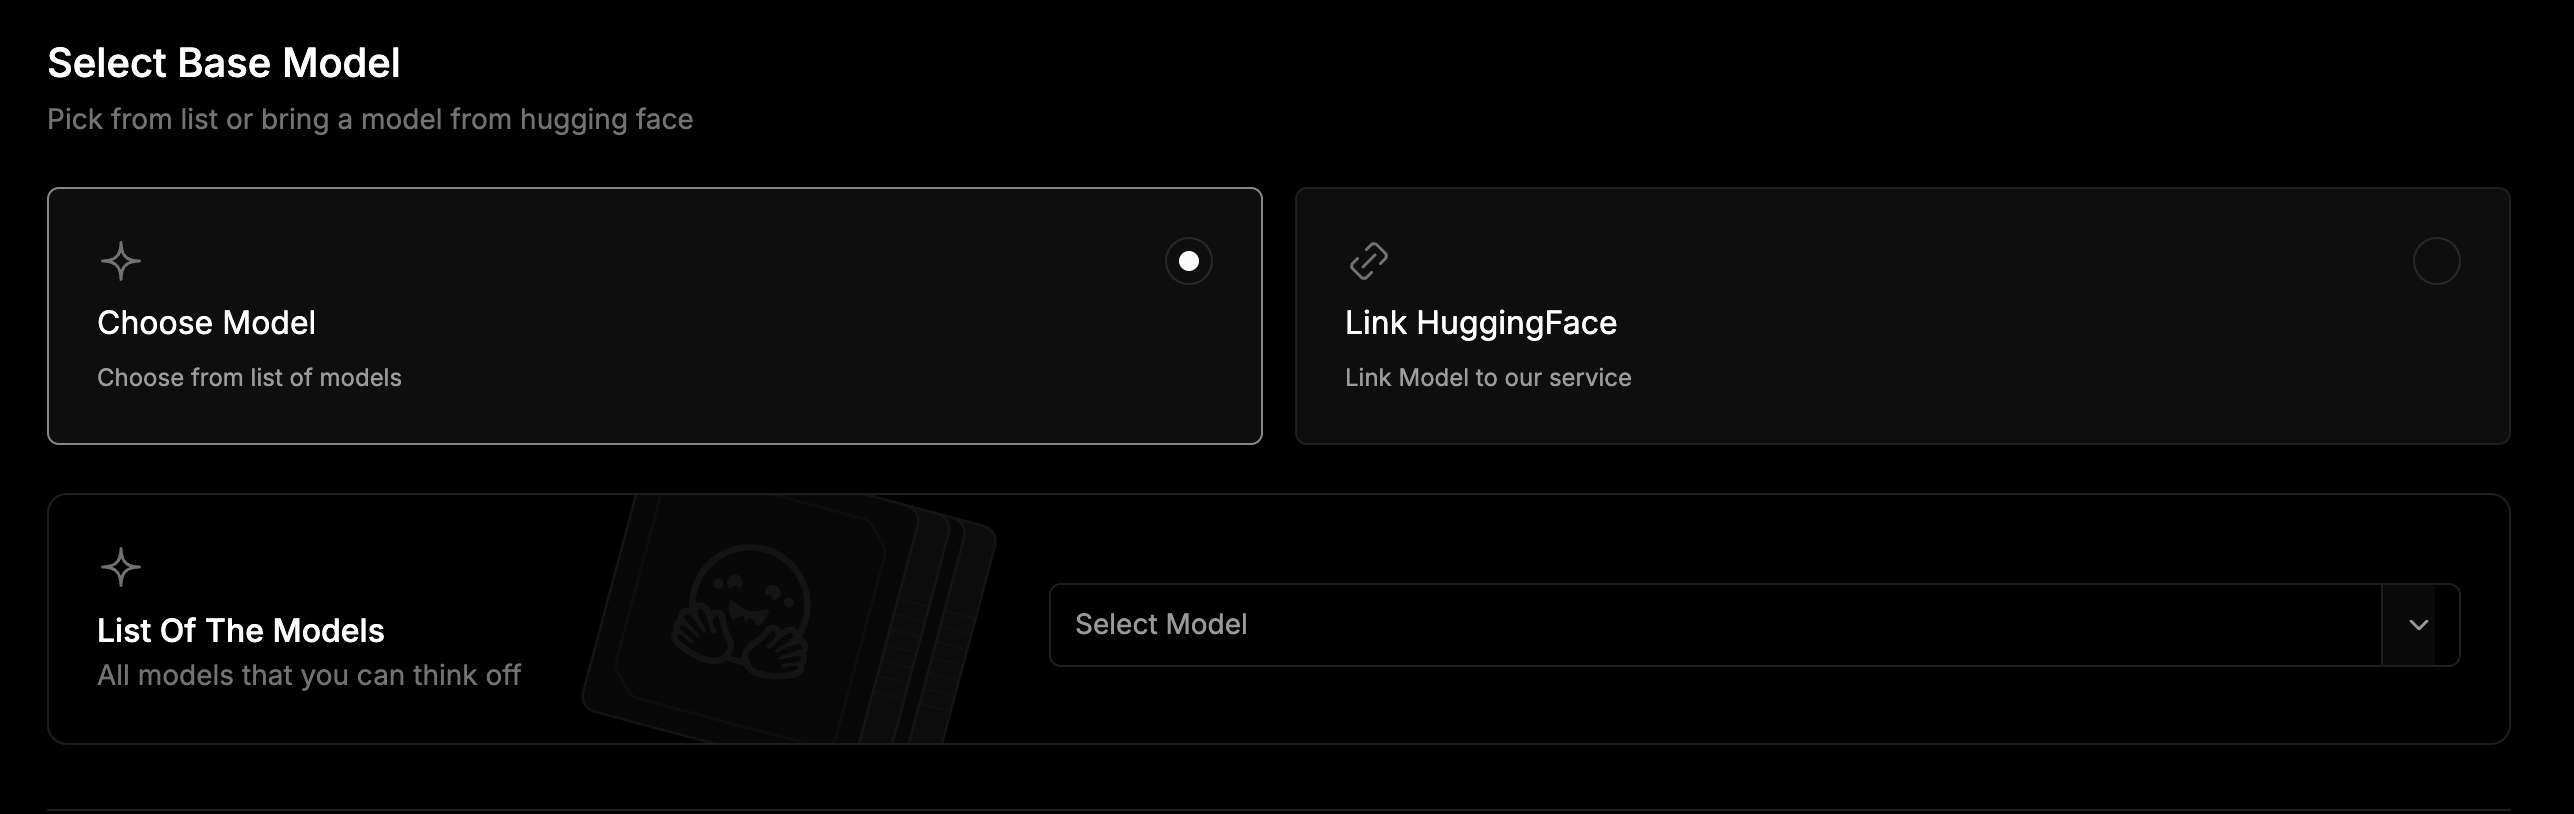
3. Select a Dataset
Choose training data from a curated list or bring your own custom dataset.- Option A - Use a Built-in Dataset
- Option B - Link a Custom Dataset
Select a dataset from our list using the dropdown menu.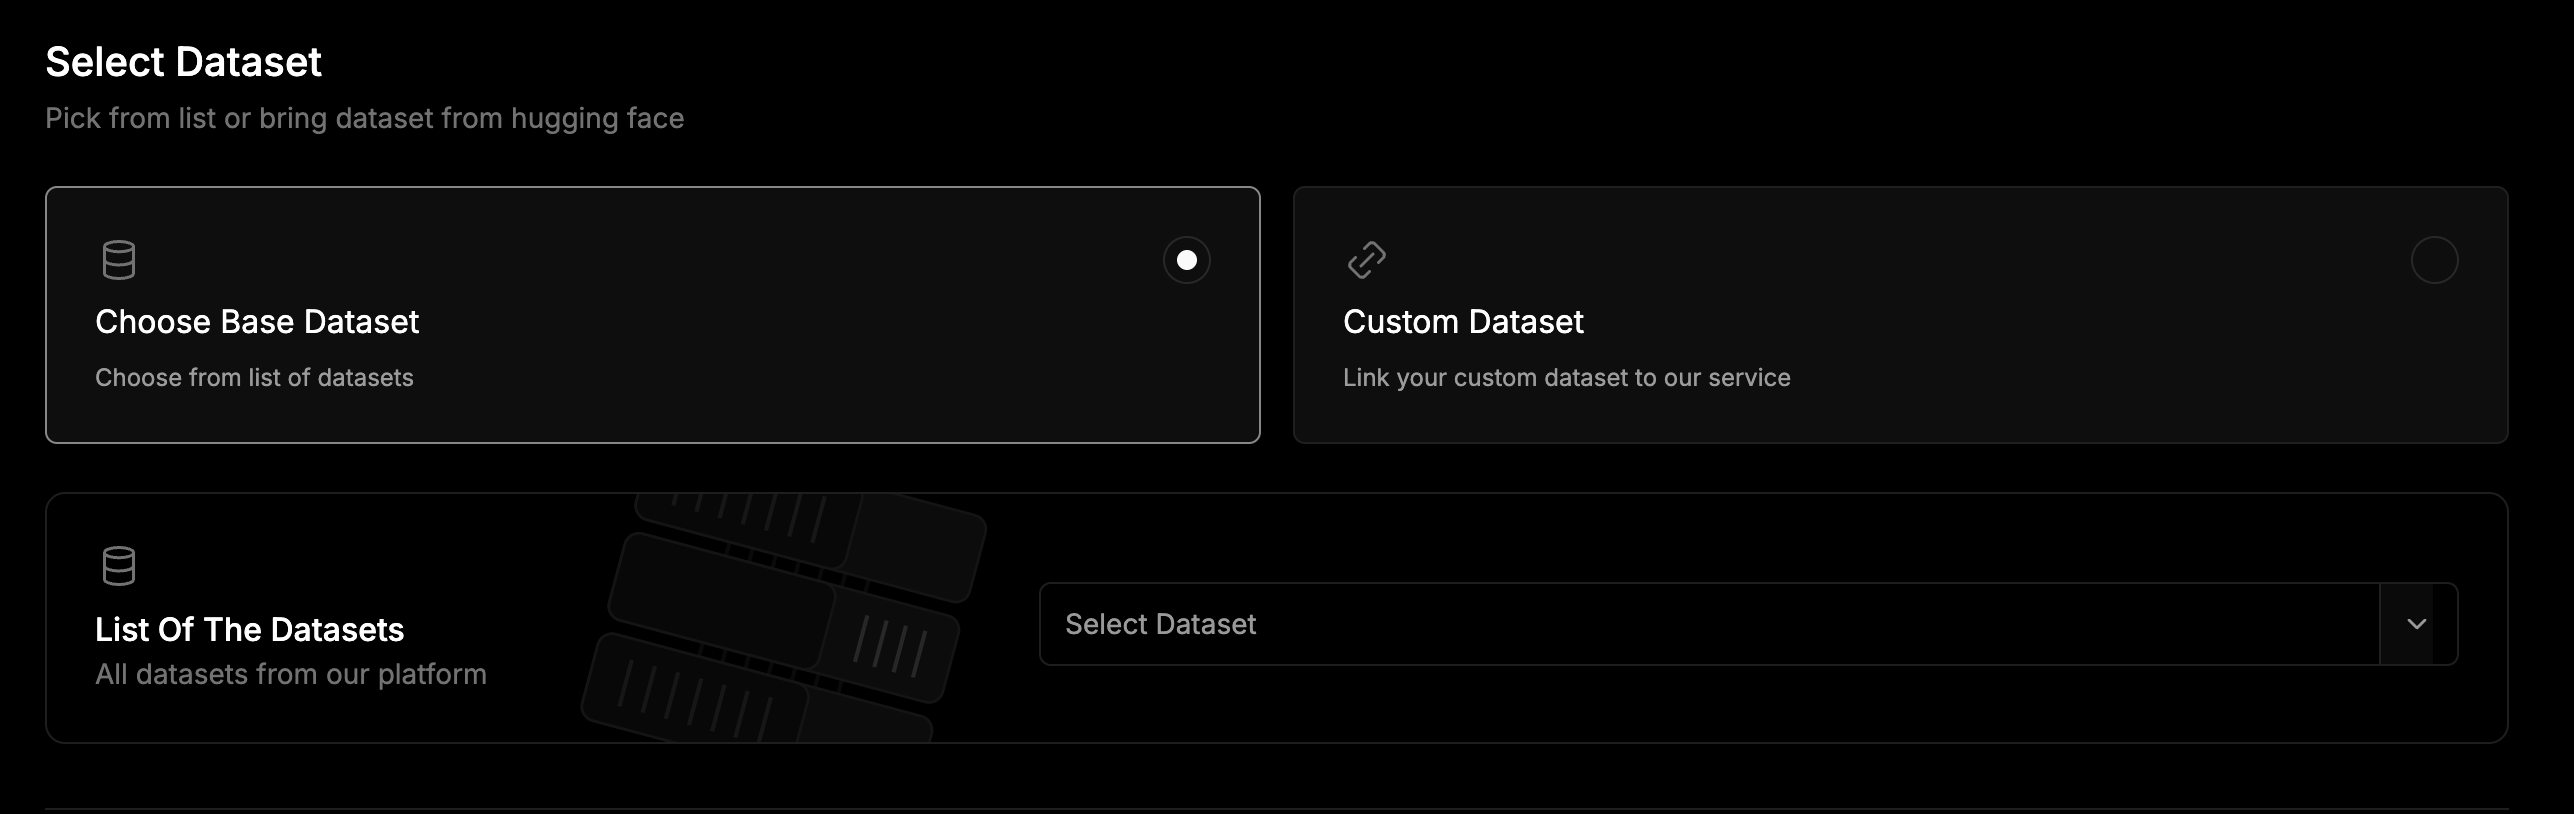

4. Choose a Training Style
Depending on your goal, you can select between Simple Creating and Advanced Creating when training a model.- Option A - Simple Creating
- Option B - Advanced Creating
Uses default settings for a quick and straightforward setup. Best if you want to get started fast without managing technical details.

5. Start Training
After setting up the details of your model, click Start Training to begin.Training Dashboard
The following sections can be viewed in the Training Dashboard.Your Current Plan
At the top of the page, you can view your current plan details. To increase your training runs or access faster processing, click the Upgrade button.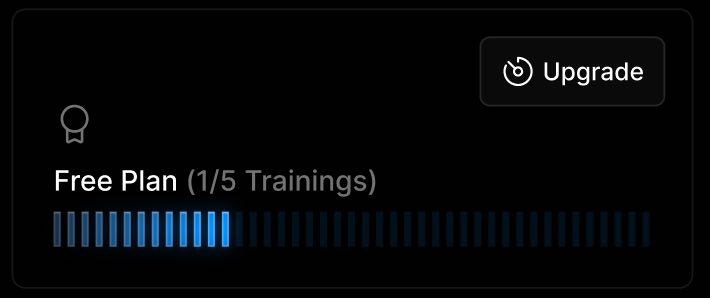
Your Training Jobs
Below your plan, there is a Training Jobs table where you can view and manage all your model training requests. Each row shows key details such as, Job ID, Base Model, Type, Status, and Run Time. Click on any job to open the detailed view and see how it is progressing.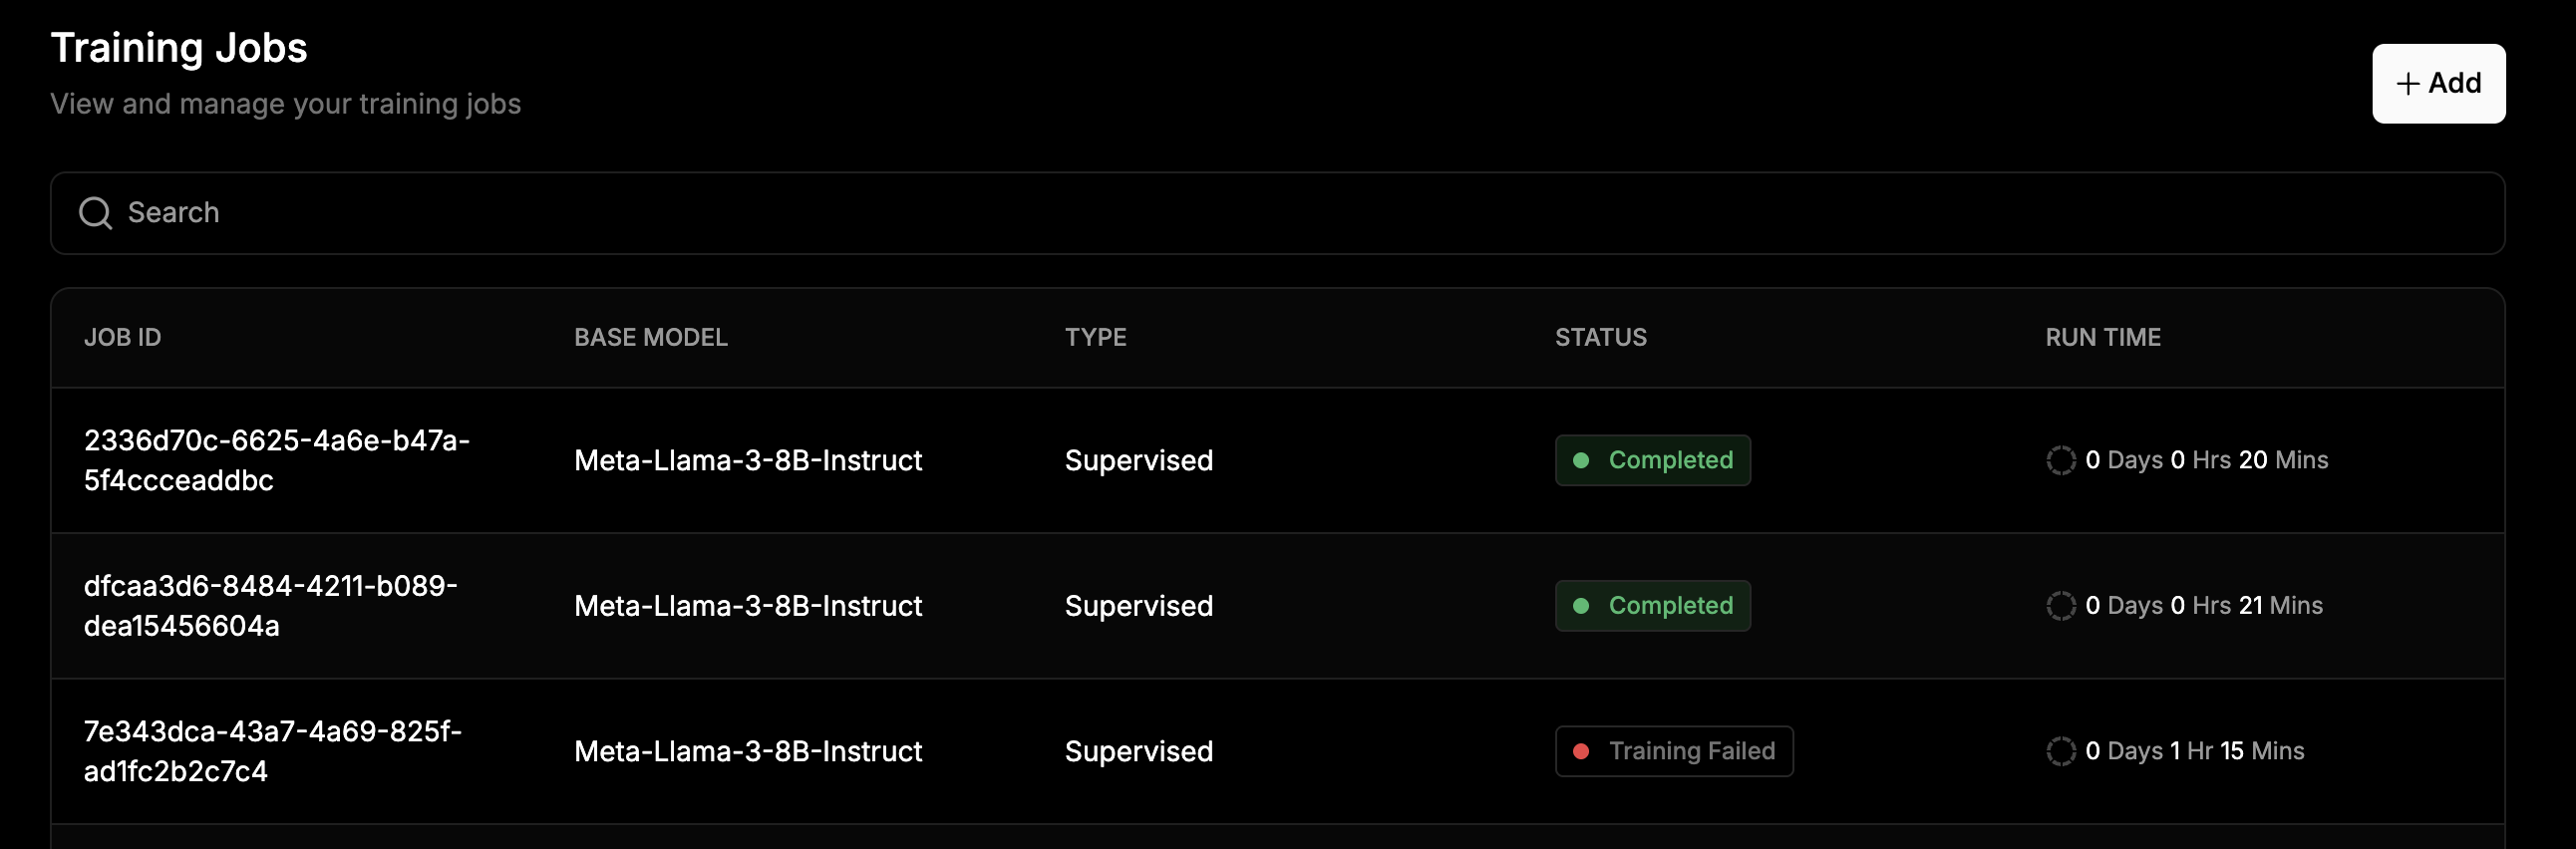
Job Details
Click on a job from the dashboard to open its Job Details. This provides everything you need to track and manage your model training in real time. At the top of the page are the following buttons and indicators:- Download Model – Available once the job is complete, to download the final model.
- Abort Training – Manually stop the job if necessary.
- Time Remaining – Displays how much time is left for training to finish.
- Time Passed – Shows how long the job has been running.

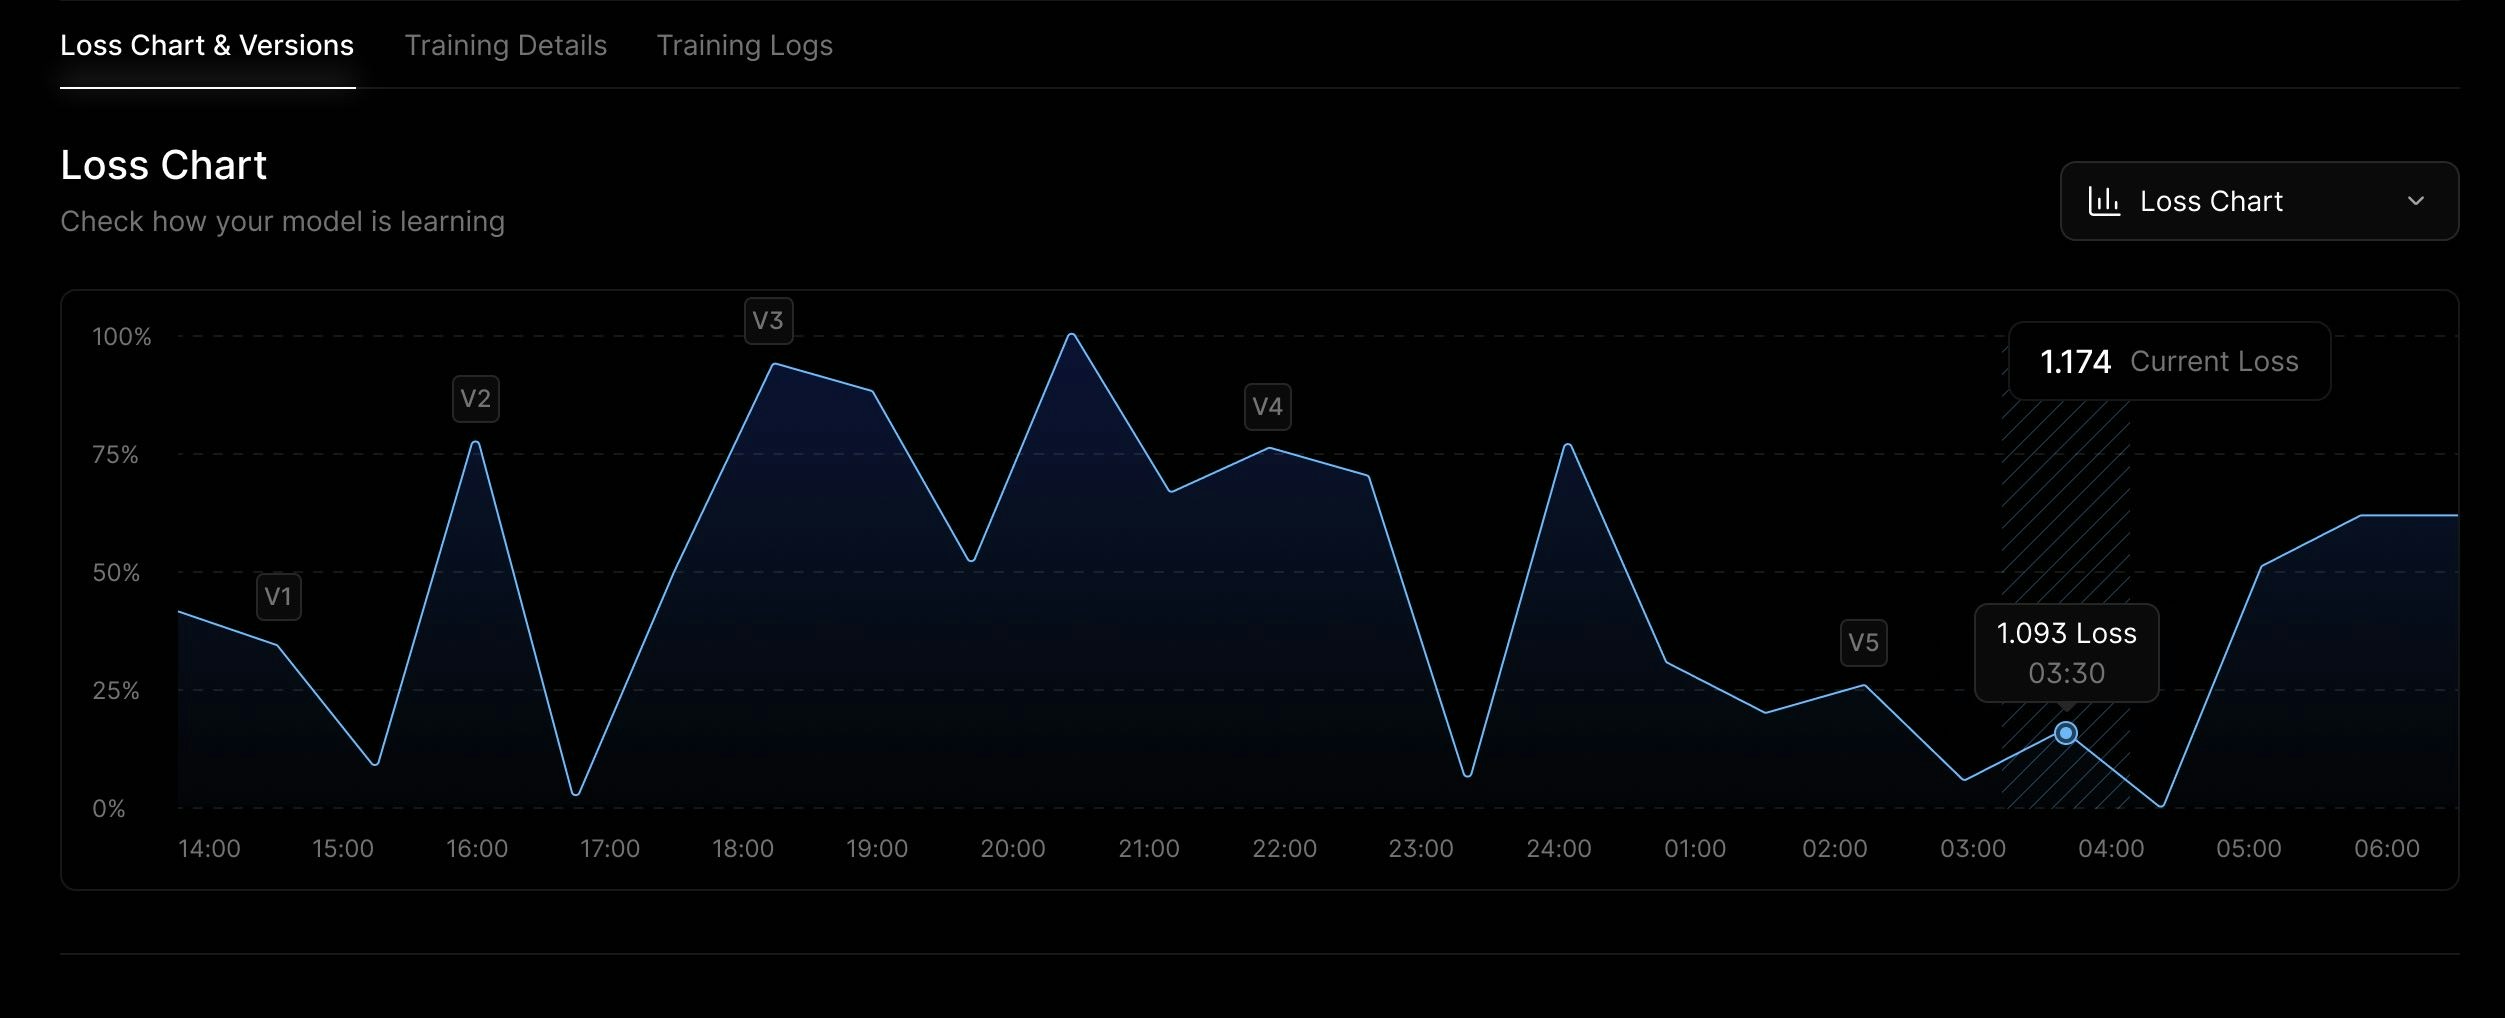
Training Metrics (Charts)
Track your model’s learning performance in real time.- Loss Chart – Shows how training loss decreases over time.
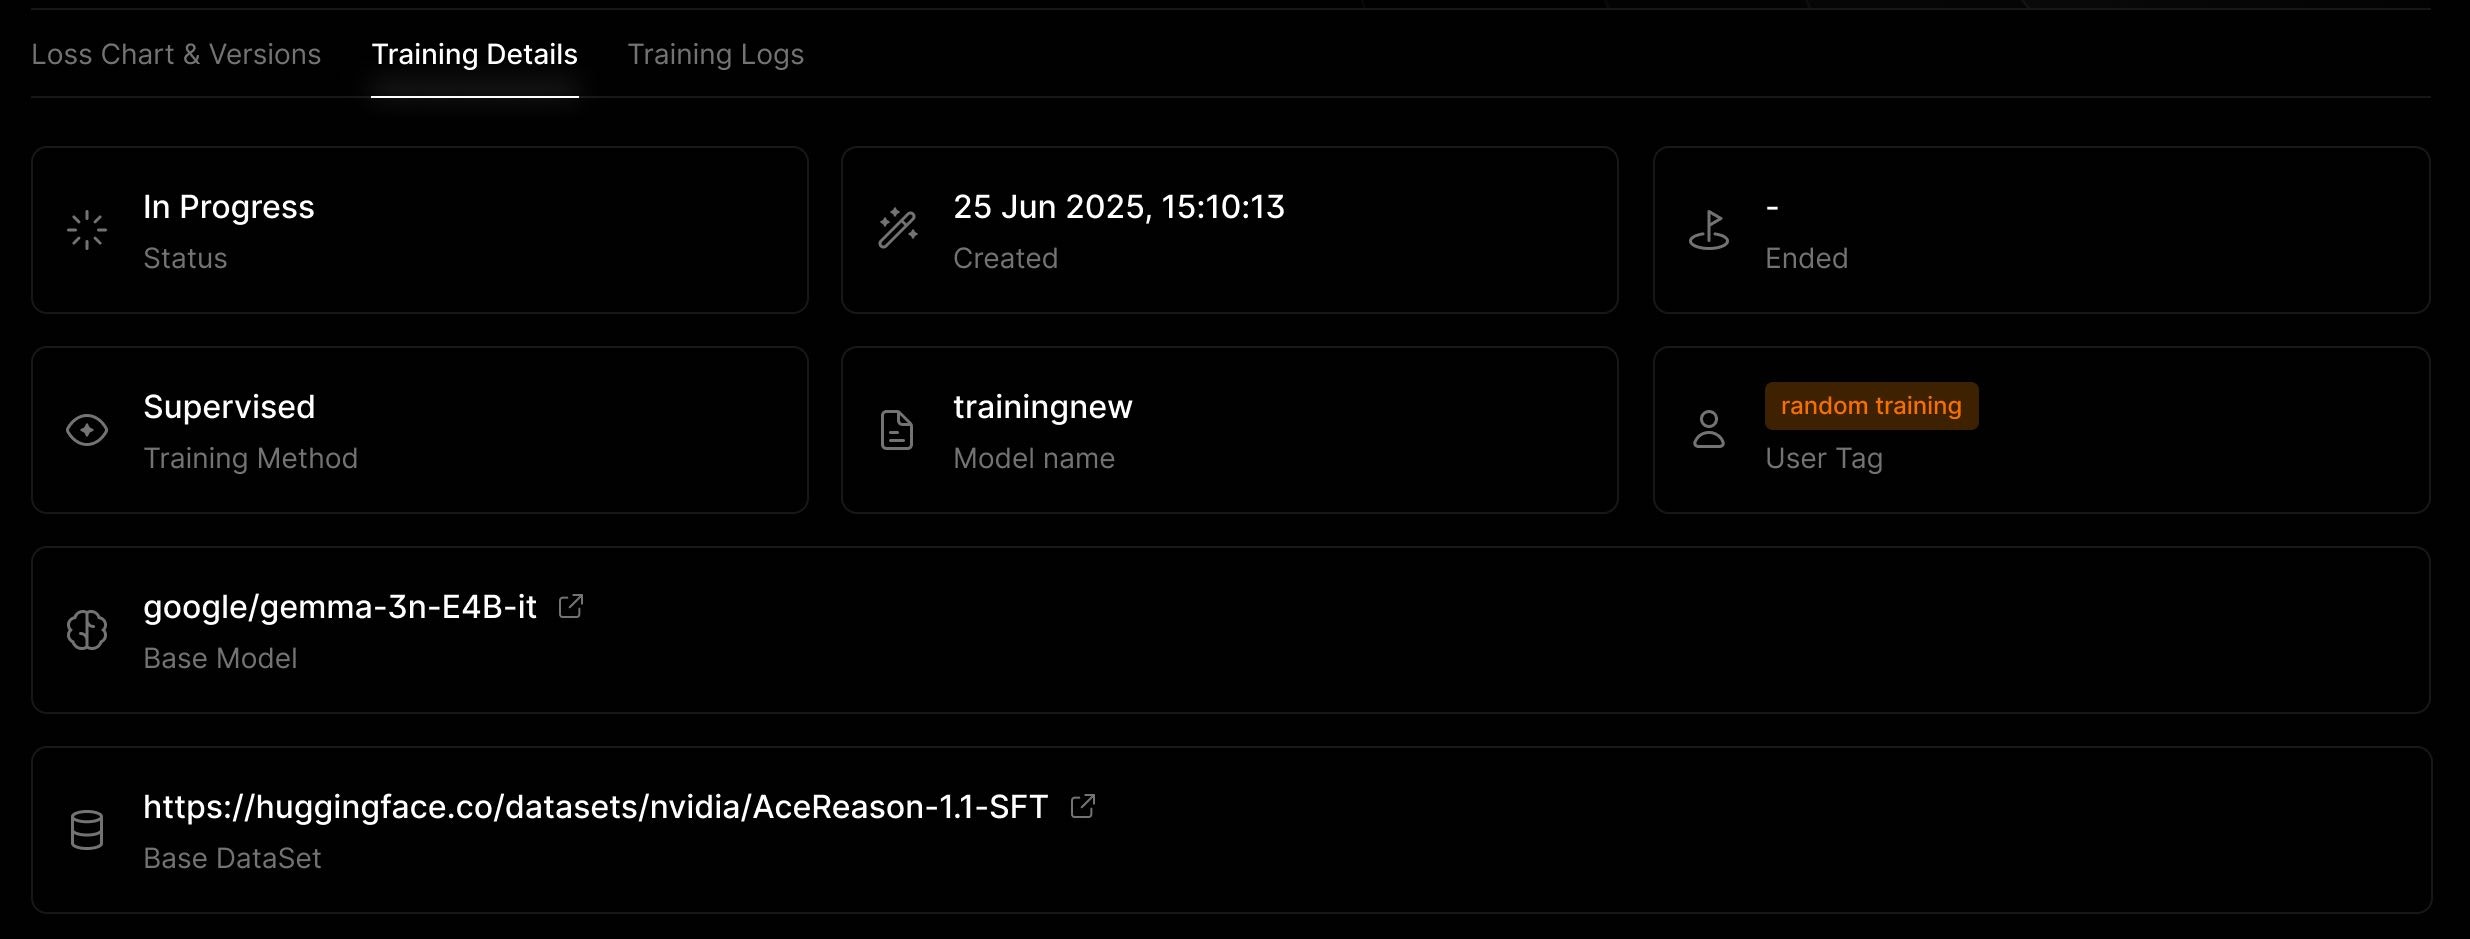
Training Details
A summary of the key information for the training job is provided as follows:- Status – Created, Deploying, Deploy Failed, Training Failed, Training, or Completed.
- Date Created
- Model Name
- Training Method
- Base Model Used
- Dataset Used
- User Tag - Custom label or identifier.
- End Date - If completed or aborted.
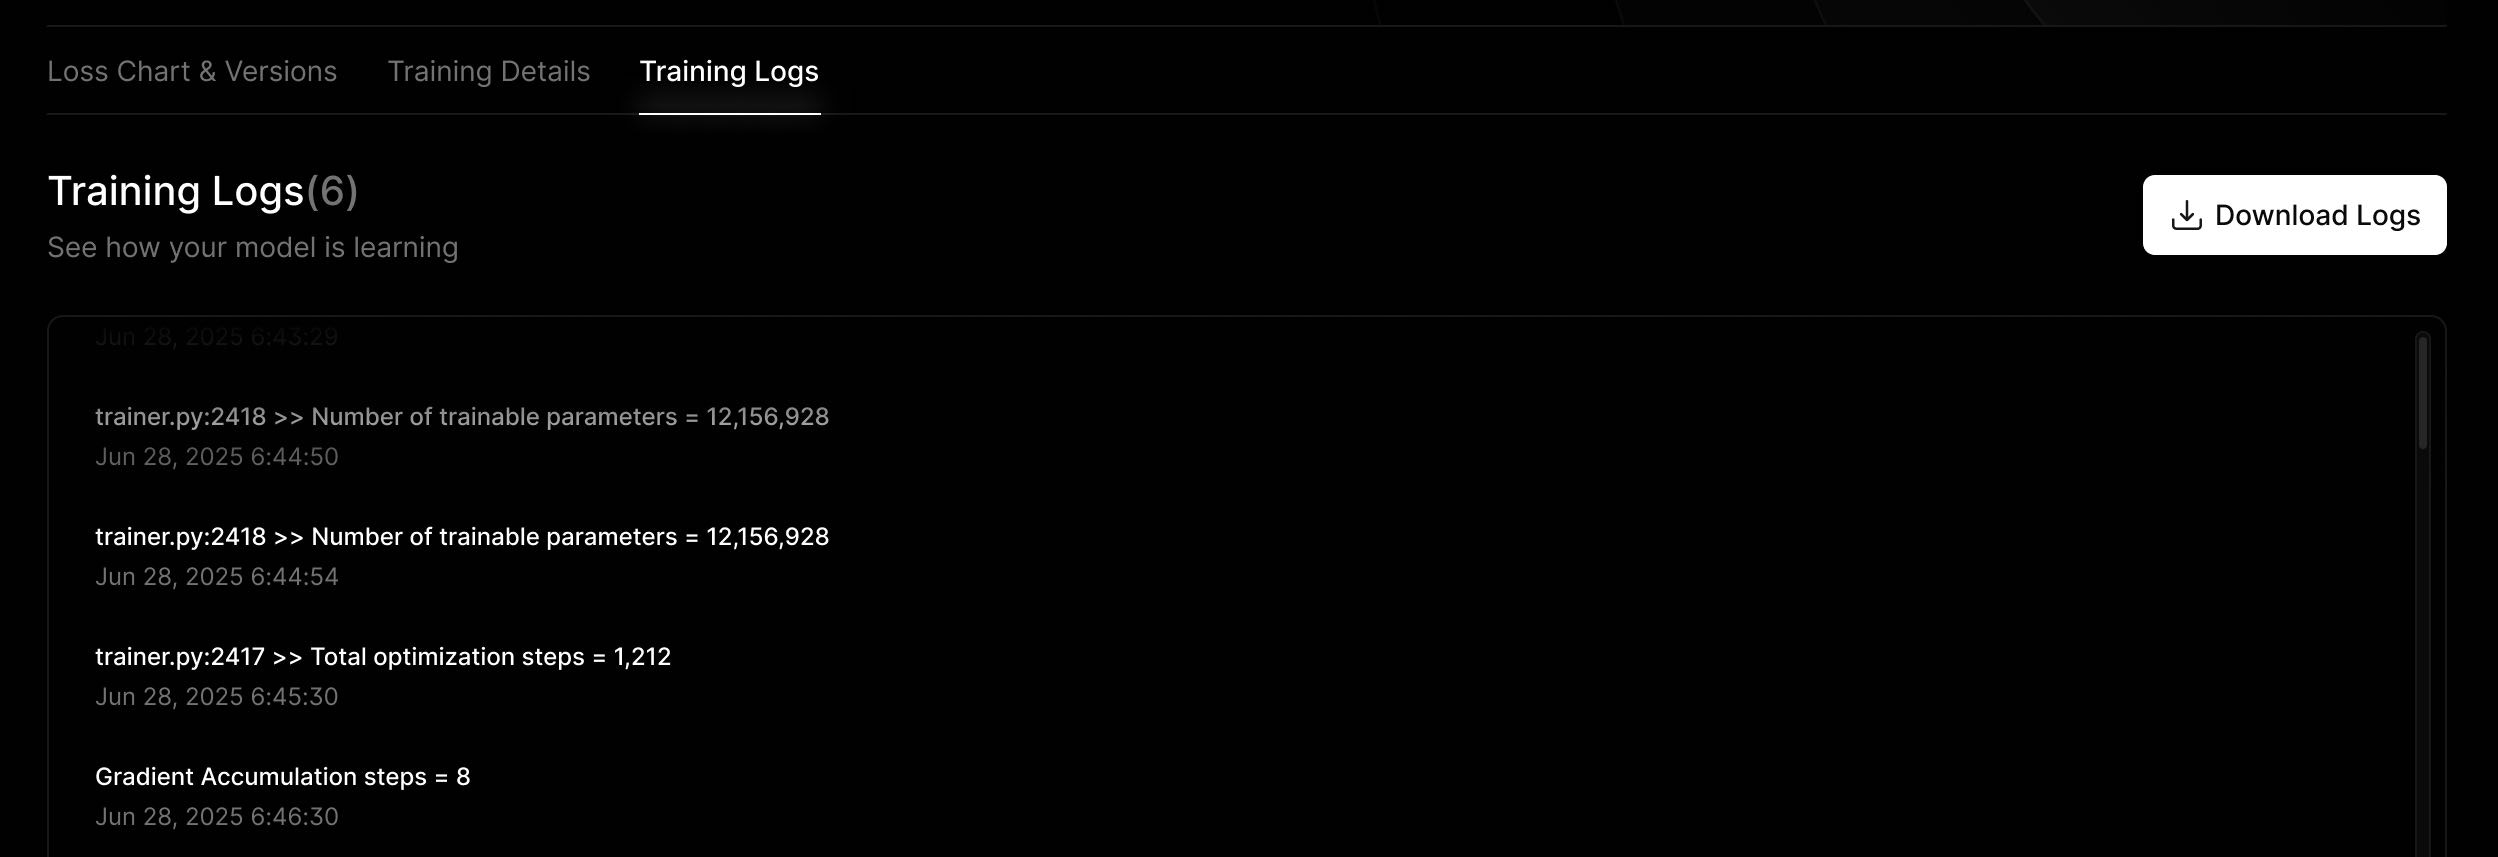
Training Logs
Training Logs provide visibility into what occurs behind the scenes during the model training process. They contain a detailed list of steps, events, and status updates throughout the job’s lifecycle, making them especially useful for debugging, monitoring, or maintaining transparency. Click the Download Logs button to save them locally for review or record-keeping.